When a toilet is overflowing or a tap will not turn off, most people do one of two things. They run for the main stopcock and cut the water to the whole house, or they stand there with a towel wondering what to do next. Both are understandable. But there is very often a small valve a few inches from the problem that would have stopped it in two seconds, and left the kettle, the other toilet and the shower working while you wait for a plumber.
I have been plumbing in Ipswich for more than forty years, and I still meet people every week who have never heard of an isolation valve, even though their house has half a dozen of them. They are also called service valves, isolating valves or isolators. This guide shows you what they look like, where to find each one, how to tell at a glance whether it is on or off, and what to do if it is seized, leaking, or simply not there.
Toilet, Tap or Appliance Leaking? Turn the Water Off in 5 Steps
Find the valve on the pipe to that fitting
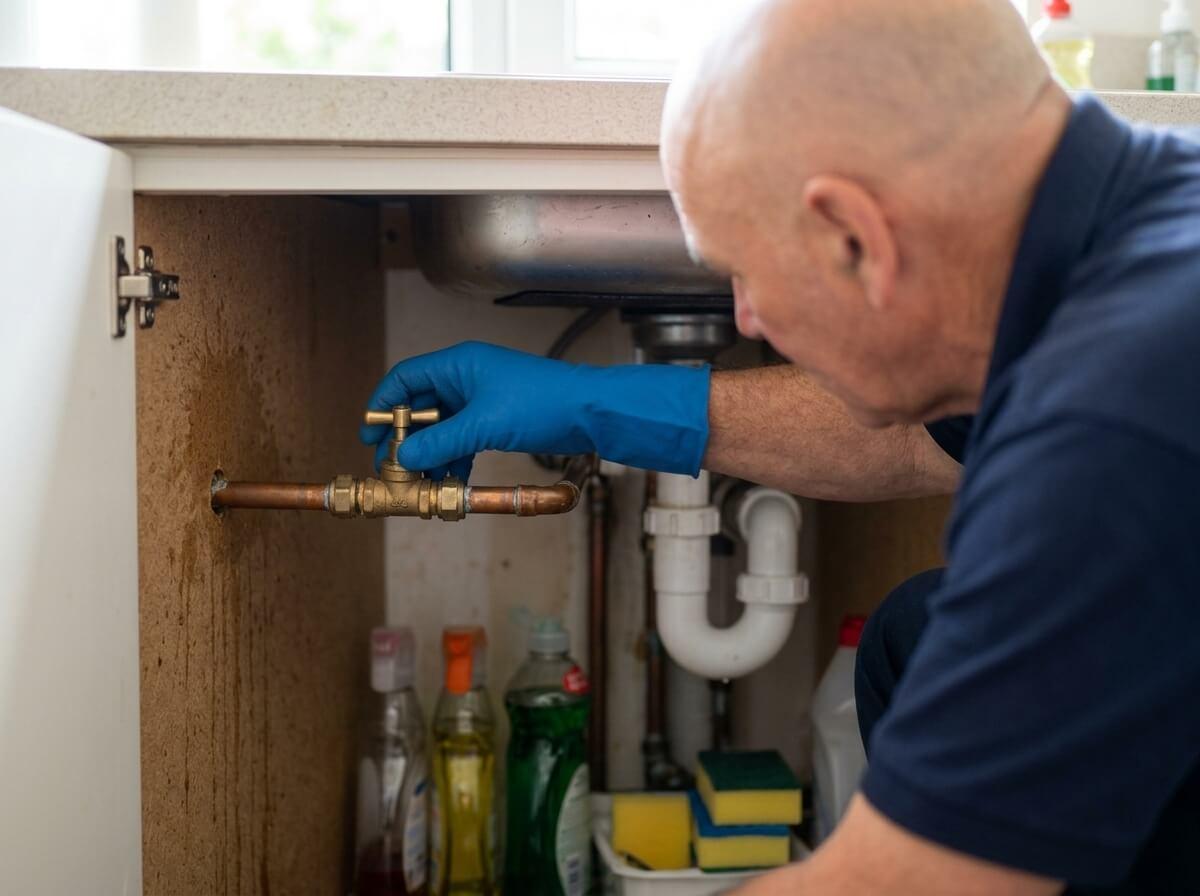
Follow the small pipe from the leaking toilet, tap or appliance back towards the wall or floor. The isolation valve is usually within a hand’s length of the fitting: behind or under the toilet cistern, under the basin, in the cupboard under the sink, or behind the washing machine. It is a small chrome or brass fitting, about the size of a thumb, with a slot or a small lever on top.
Check which way the slot or lever is facing
Look at the slot or lever and compare it with the pipe. If it runs along the pipe, the valve is open and water is flowing through. If it already sits across the pipe, it is already closed, and the water is coming from somewhere else.
Give it a quarter turn
For a slot valve, use a flat screwdriver that fills the slot. A coin or a butter knife will do at a push. Push in firmly and turn it a quarter of a turn until the slot is across the pipe. For a lever, turn it by hand until it sits across the pipe and stops. On a wheel head gate valve, turn the wheel clockwise until it is tight.
Check the water has stopped
Flush the toilet or open the tap. The cistern should not refill and the tap should run dry within a few seconds. If water keeps coming, the valve is not fully closed, it is passing, or you have shut the wrong one. Try the other valve if there are two (hot and cold).
No luck? Go to the stopcock, then call
If you cannot find the valve, it will not turn, or water still gets through, turn off the main stopcock instead. It is usually under the kitchen sink. Then put a bowl under the leak, keep water away from sockets, and call a plumber if you cannot fix the fault yourself.
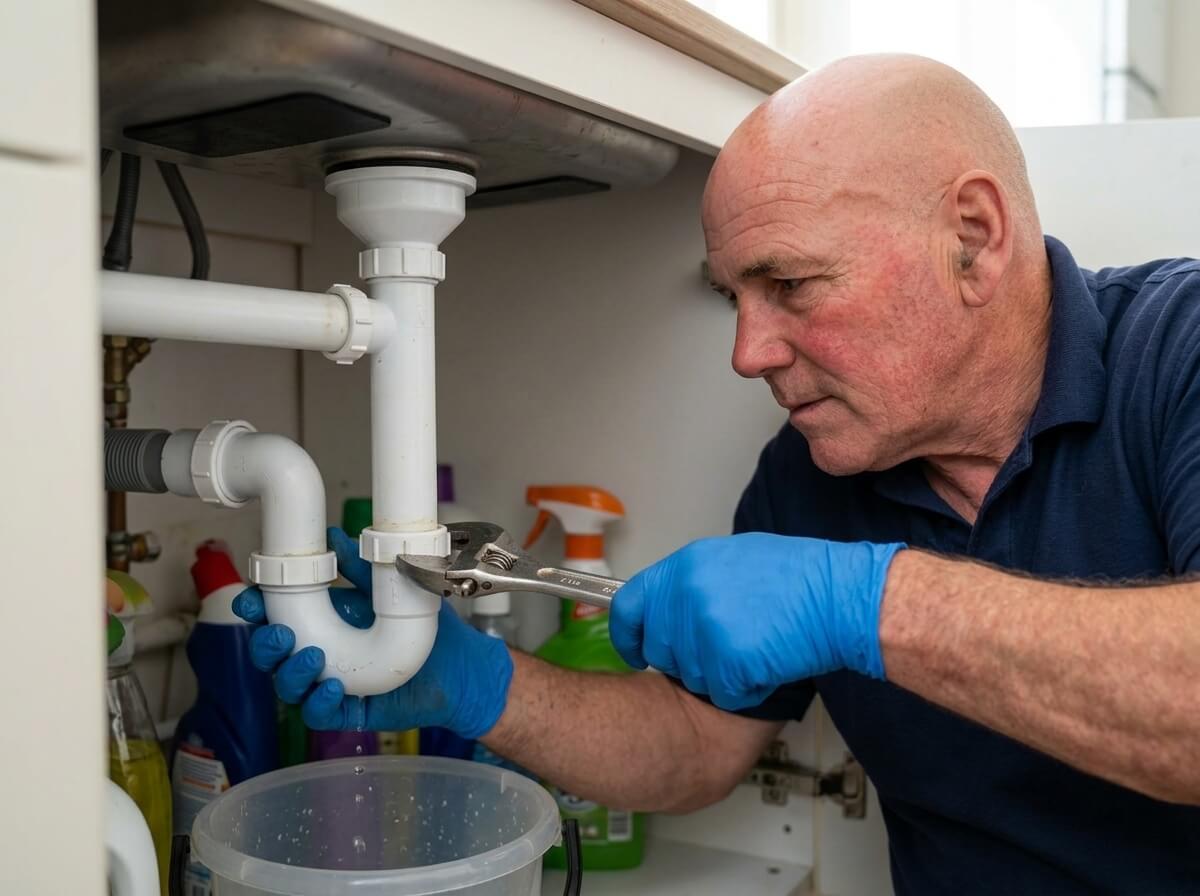
Is the Isolation Valve On or Off? How to Read Every Type
There are a handful of valves you are likely to come across in a UK home. They all do the same job, but they do not all look or turn the same way. Find yours in the table below.
| VALVE | WHAT IT LOOKS LIKE | ON (OPEN) | OFF (CLOSED) | HOW TO TURN IT |
|---|---|---|---|---|
| Screwdriver slot valve | A small chrome or brass barrel on a 15mm pipe with a straight slot in the top. The most common type, under basins and behind toilets. | Slot runs along the pipe | Slot sits across the pipe | Flat screwdriver, a quarter turn. On most you can go either way. |
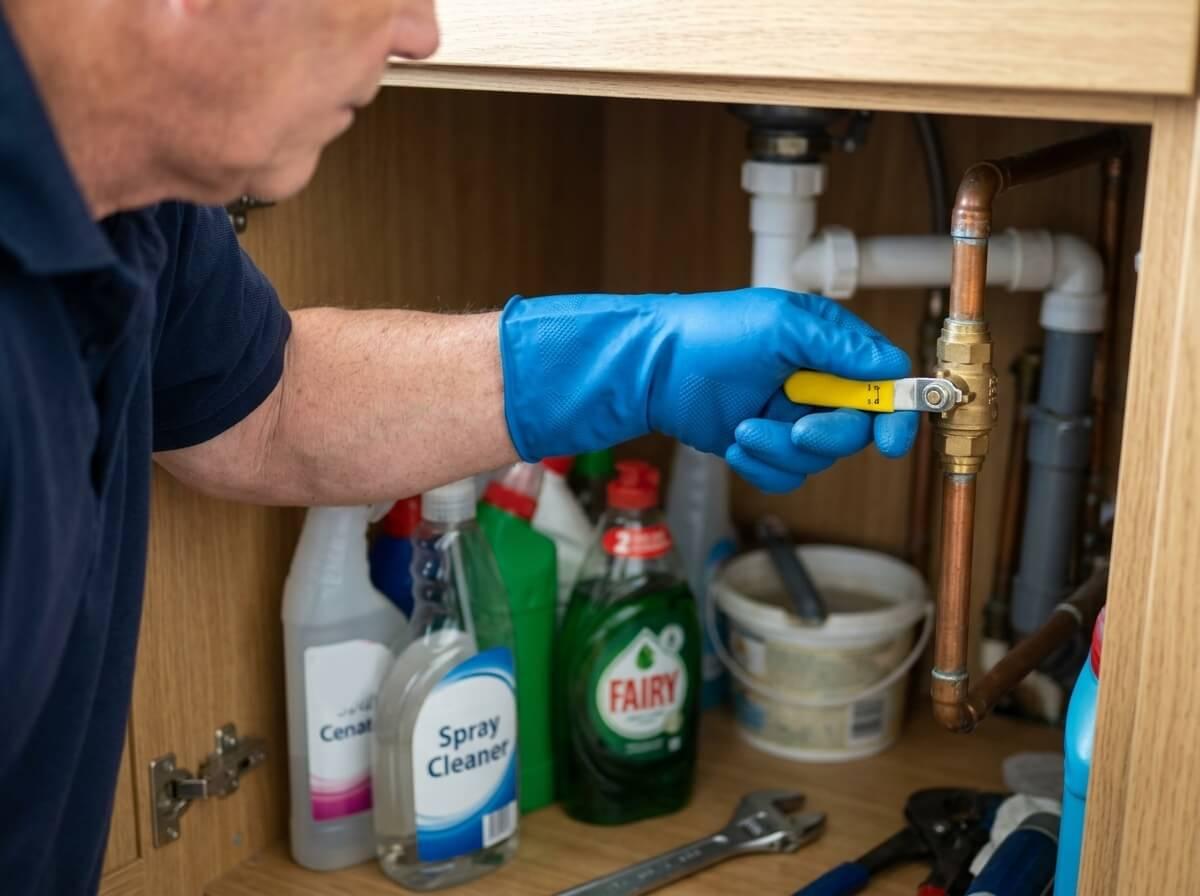
| Lever valve | The same barrel with a small flat handle, often red, blue, yellow or chrome. Common under kitchen sinks and on newer toilets. | Handle runs along the pipe | Handle sits across the pipe | By hand, a quarter turn until it stops. |
| Appliance valve | A tap shaped valve with a blue or red lever and a threaded outlet for a hose. Behind washing machines and dishwashers. | Lever in line with the valve body or pipe | Lever across the pipe | By hand, a quarter turn. Pull the appliance out first. |
| Gate valve (wheel head) | A brass valve with a round wheel handle, usually red. Found on pipes from the loft tank, the cylinder cold feed and in airing cupboards. | No visible sign. Wheel turned fully anticlockwise | No visible sign. Wheel turned fully clockwise | Clockwise to close. Several full turns, not a quarter turn. |
| Built into the fill valve | A slot or small knob at the base of a modern toilet fill valve, inside the cistern or where the pipe connects underneath. | Check the maker's marking. Usually slot along the inlet | Usually slot across the inlet | Flat screwdriver or by hand. Lift the cistern lid to reach it. |
| Shower isolator | A slot valve on the pipes to an electric or mixer shower, often hidden in the loft, behind a panel, or built into the bar valve fittings. | Slot along the pipe | Slot across the pipe | Flat screwdriver or a coin, a quarter turn. |
Which way do you turn an isolation valve?
On most screwdriver slot and lever valves, it does not matter. They are quarter turn ball valves: a ball with a hole through it sits inside, and turning the slot ninety degrees in either direction swings the hole away from the pipe. Some have a small stop that only lets them go one way. If it will not go one way, try the other, gently, before you decide it is seized.
Gate valves and stopcocks are the exception. They work like a tap, with a washer or gate screwing down onto a seat. Turn them clockwise to close, “righty tighty”, and expect several full turns before they stop.
What does the arrow on the valve mean?
A lot of people ask me this. The arrow cast or printed on the body of the valve shows which way the water flows through it. It is there for whoever fits it, and matters most on valves with a one way check valve inside. It tells you nothing about whether the valve is on or off. For that, always go by the slot or lever.
Where Are the Isolation Valves in My House?
The best time to look for these is now, on a calm afternoon, not at midnight with water on the floor. Walk round with a torch and a flat screwdriver and find each one. Here is where to look.
| FITTING | WHERE TO LOOK | GOOD TO KNOW |
|---|---|---|
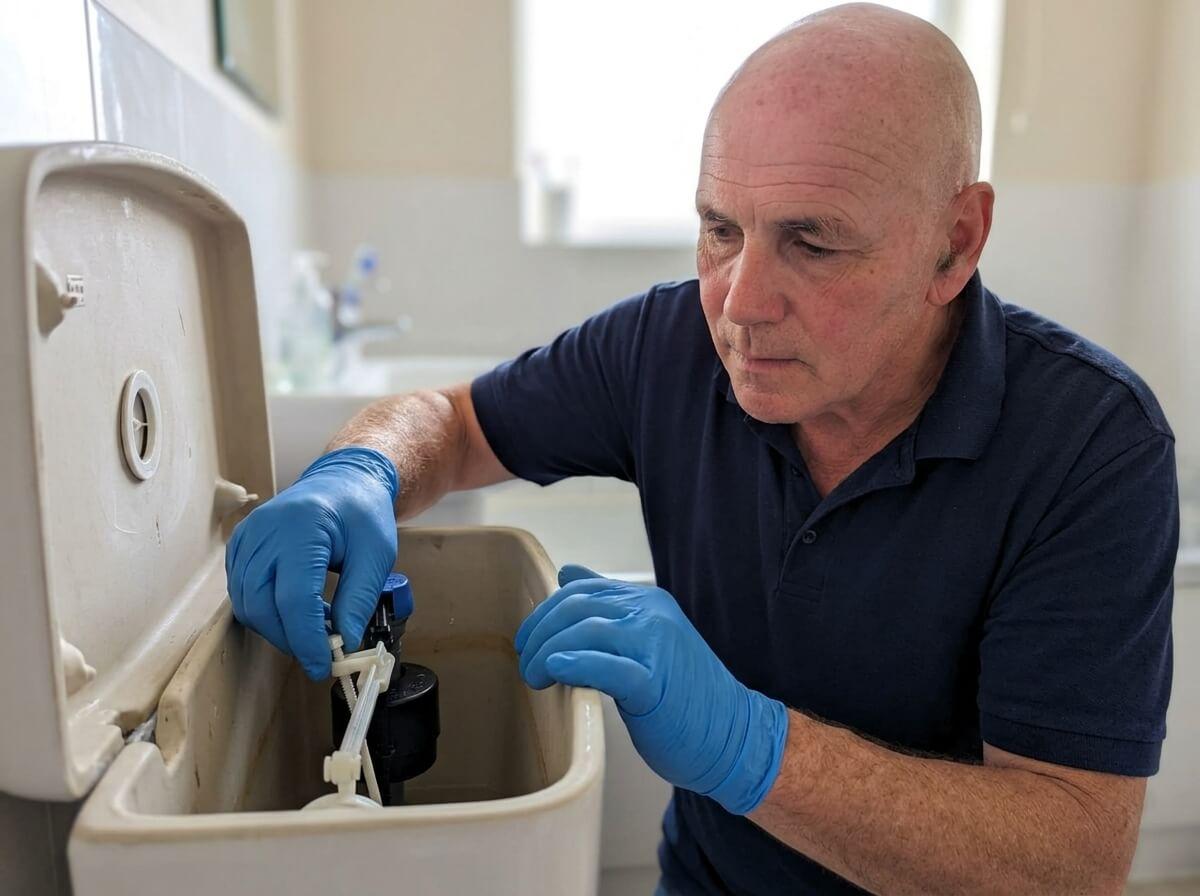
| Toilet | On the small pipe into the cistern. Behind or under the cistern, near the floor, or on the side where the pipe enters. | Concealed cistern? Remove the flush plate or the access panel. The valve is usually just inside. |
| Bathroom basin | On each tap tail under the basin, sometimes hidden inside the pedestal or vanity unit. | Two valves, one hot and one cold. Shut both if you are not sure which tap is leaking. |
| Kitchen sink taps | In the cupboard under the sink, on the hot and cold pipes just before the flexible tap tails. | The main stopcock is often in the same cupboard. Do not confuse the two. |
| Washing machine or dishwasher | Behind the appliance, or in the cupboard next to it, where the hose screws on. | Washing machines usually have a blue (cold) and sometimes a red (hot) valve. |
| Bath | Under the bath, behind the side panel, on the pipes to the taps or mixer. | Often missing in older houses. If there is none, use the stopcock or loft tank valve. |
| Shower | Electric showers: on the pipe into the unit, or in the loft above. Mixer showers: in the bar valve elbows, behind a panel, or in the loft. | Always switch an electric shower off at its isolator switch too if water is near it. |
| Outside tap | Inside the house, on the pipe that runs through the wall, usually under the kitchen sink or in the utility room. | Turn it off and open the outside tap before the frosts, so the pipe cannot freeze and split. |
| Loft tank and cylinder | Gate valves on the pipes leaving the cold water tank, and on the cold feed into the hot water cylinder in the airing cupboard. | A small valve on the mains pipe in the loft may also isolate the tank's float valve. |
The toilet isolation valve
This is the one you will use most, because an overflowing or constantly running cistern is one of the commonest calls I get. On a standard close coupled toilet, the valve is on the pipe coming up from the floor or out of the wall to the bottom or side of the cistern. On a back to wall or concealed cistern, it is hidden behind the flush plate or an access panel, so it is worth knowing how yours comes off before you need it.
Turn it off and the cistern stops refilling. Then you can lift the lid and see what the fill valve is doing. My guide on how to stop a toilet cistern overflowing walks through the float and fill valve adjustments step by step, and if water is coming out round the base instead, the toilet leaking from the base guide will help you work out why.
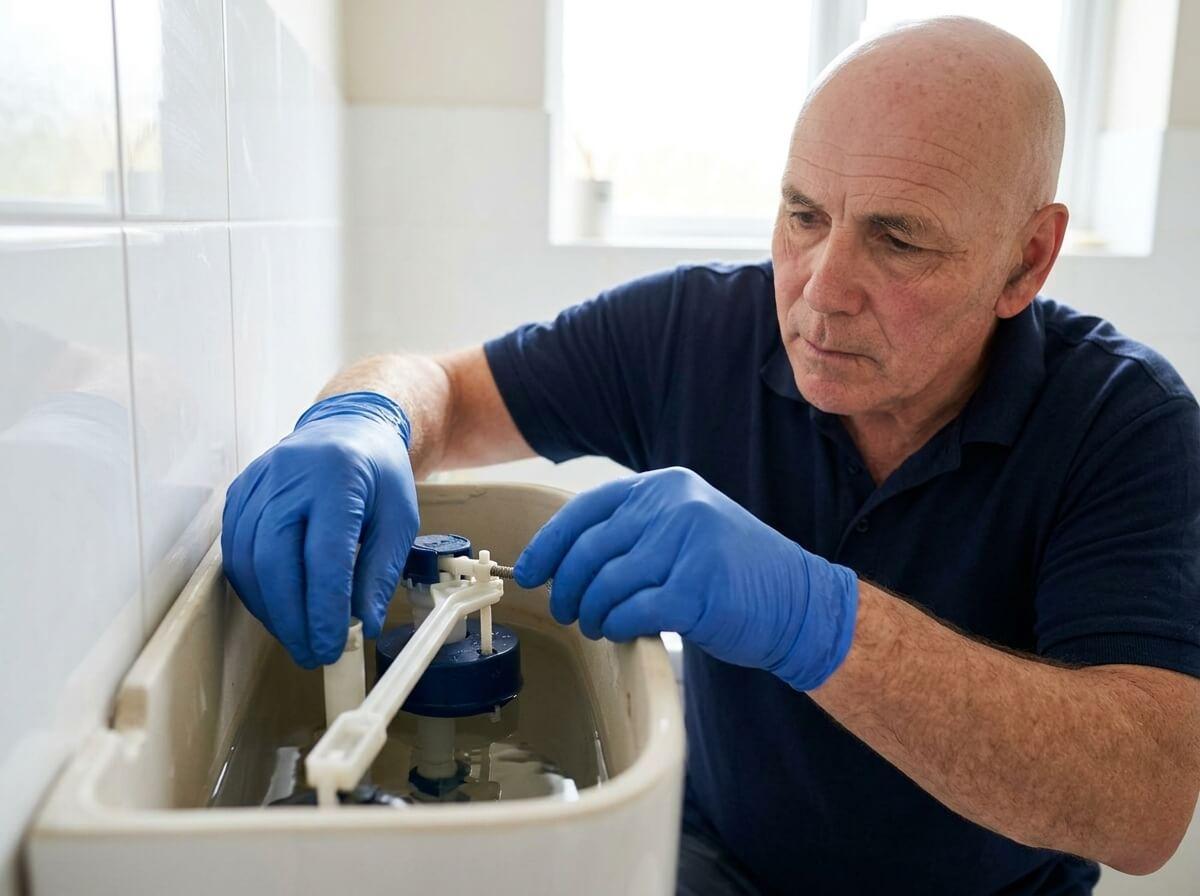
Basin and kitchen tap isolation valves
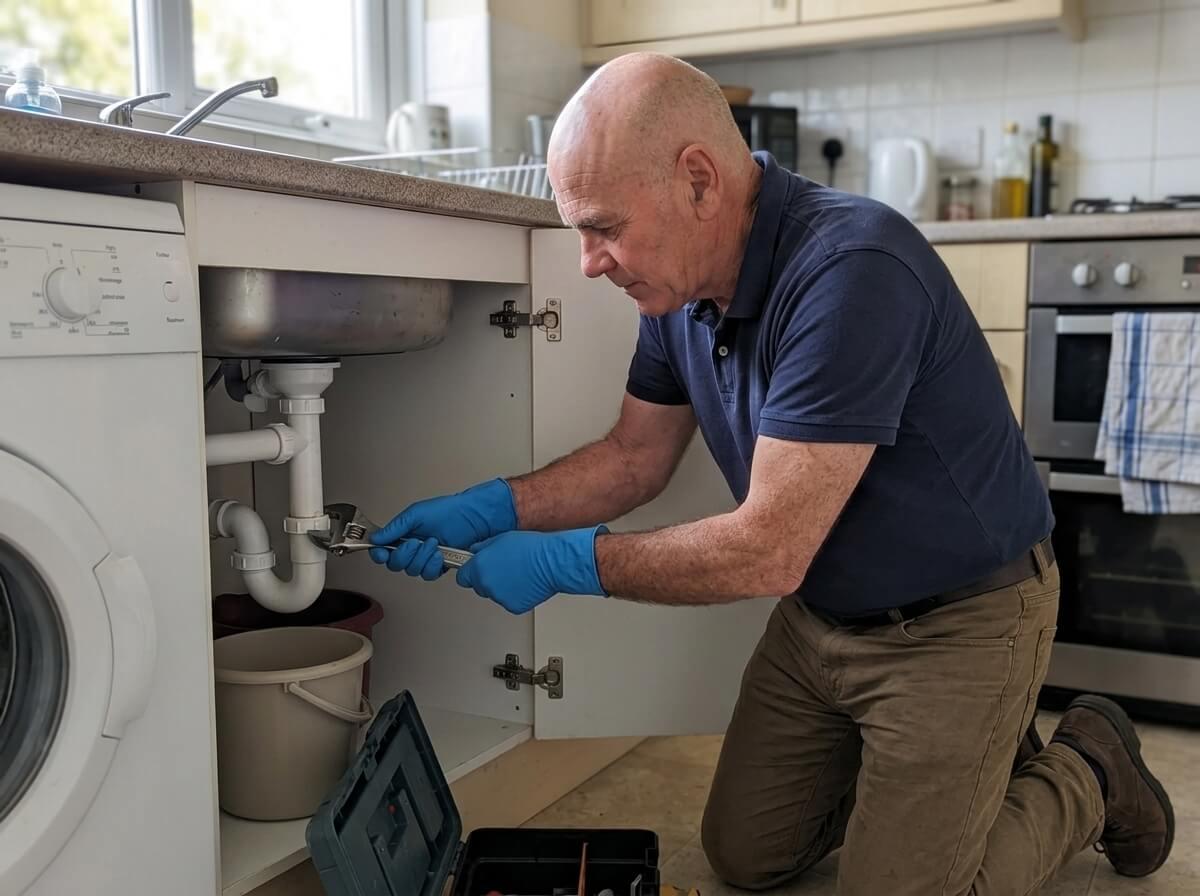
Most taps fitted in the last twenty years or so have an isolation valve on each tap tail, so you will find two under the basin or sink: one on the hot pipe, one on the cold. If a tap is dripping or a tap will not turn off, closing those valves lets you change the cartridge or washer without turning the house water off. If the leak is from the pipes and fittings in the cupboard rather than the tap, the leaking under sink guide shows you how to find which joint is at fault.
Washing machine and dishwasher valves
Appliance valves are designed to be used, so they have a proper lever rather than a slot. When the lever is in line with the pipe, it is on. A burst inlet hose behind a washing machine can put out a surprising amount of water, so if you see water spreading from behind the machine, switch it off at the socket if it is dry to reach, then pull the machine out and close the valve. There is more on finding the cause in my washing machine leaking guide.
Showers, baths and the airing cupboard
These are the ones people can never find. An electric shower usually has a slot valve on the cold pipe just before the unit, sometimes hidden under the cover or up in the loft above. Many mixer showers have small isolators built into the elbows that connect the bar valve to the wall. Baths often have no isolation valves at all in older houses. In the airing cupboard, a red wheel gate valve on the cold feed into the hot water cylinder lets you stop water going to the hot taps if a hot pipe is leaking.
Isolation Valve, Stopcock or Gate Valve: What Is the Difference?
People use these names loosely, and that causes confusion on the phone in an emergency. Here is the plain version.
- ●Stopcock (stop tap): shuts off the cold mains to the whole house. Usually under the kitchen sink, but it can be under the stairs, in a downstairs toilet or in a garage. Turned clockwise, several turns. There is also an outside stop tap under a small cover near the boundary, which belongs to the water company.
- ●Isolation valve (service valve): shuts off one fitting. Small, quarter turn, with a slot or lever. Lets you repair a toilet or tap while the rest of the house still has water.
- ●Gate valve: a full flow valve with a wheel handle, used on the low pressure pipes from a loft tank and on cylinder feeds. Shuts off a section of pipework, such as all the bathroom cold taps.
The rules agree with this split. The Water Supply (Water Fittings) Regulations 1999, Schedule 2 defines a servicing valve as one for shutting off the water to a fitting for maintenance or service, and a stopvalve as one for shutting off the flow in a pipe. They also say pipework should have an adequate number of servicing valves, and that a cistern with a float operated valve should have a servicing valve on its inlet pipe, next to the cistern. That is why newer toilets almost always have one, and older ones often do not.
Isolation Valve Stuck, Leaking or Not Working? What It Means
Isolation valves are cheap and simple, which is their strength and their weakness. The common slot type is often fitted once and never touched again, and in a hard water area like ours the limescale gets to work. When you finally need it, it is stuck. Here is what you are likely to run into, and what to do about each.
| WHAT YOU SEE | WHAT IT USUALLY MEANS | WHAT TO DO |
|---|---|---|
| Slot or lever will not move at all | Seized with limescale after years without being turned. | Do not force it. Turn off the main stopcock and get the valve replaced. |
| Slot turns round and round without stopping | Some valves have no end stop. Others have a sheared spindle inside. | Set the slot across the pipe and test the tap or flush. If water still flows, the spindle has gone. |
| Valve is off, but water still trickles through | The valve is passing. Scale or grit stops the ball sealing. | Use the stopcock for now. A passing valve needs replacing. |
| Drip from around the slot or lever | Worn spindle seal, often after a long untouched valve is turned. | Put a cup under it, turn it back fully open (some stop weeping when open) and book a replacement. |
| Drip from a nut at either end | A compression joint that has loosened or was never fully tight. | Hold the valve body still and nip the nut up a quarter turn. Still dripping? Call a plumber. |
| Toilet fills slowly or tap is weak after you turned it back on | The valve is not fully open, or a flake of scale has lodged in it. | Check the slot is fully in line with the pipe. If it is, the valve may be partly blocked. |
| The slot is chewed or rounded off | A screwdriver that was too small, or pliers, has damaged it. | Do not try to grip it. Isolate at the stopcock and replace the valve. |
How to turn a stiff isolation valve without breaking it
- ●Use the right screwdriver. The blade should fill the whole slot, side to side and top to bottom. A small one will chew the edges and round the slot off.
- ●Push in as you turn. Most damage happens when the blade rides up out of the slot. Lean into it and turn slowly and steadily.
- ●Support the pipe. Hold the valve body or the pipe with your other hand so you are not twisting the pipe and straining the joints.
- ●Rock it, gently. A tiny movement back and forth can break the scale. If it moves a fraction, work it a little further each time.
- ✕Do not use pliers or grips on the slot. They will not grip, and they will ruin the slot so nobody can turn it.
- ✕Do not tap it with a hammer. The spindle is small and the body is often thin brass. It can crack or start leaking.
- ✕Do not spray lubricant into it and wait during a leak. You do not have time, and it rarely frees a scaled ball. Go to the stopcock.
If the main stopcock is stiff too, my guide to a stuck or seized stopcock explains how to free it safely. And if both are fighting you while water is pouring out, that is the moment to call.
When the isolation valve is off but the water keeps coming
This is called passing, or letting by. The slot is fully across the pipe, but a thin trickle still gets through. Inside, scale or grit has scored the ball or the seal so it no longer closes tight. A passing valve cannot be relied on, and the honest fix is a new one. In the meantime, stop the water further back: the main stopcock on a mains fed pipe, or the gate valve on the outlet of the loft tank if the fitting is tank fed.
When the isolation valve itself is leaking
A drip from around the slot or lever is the spindle seal. It is very common straight after an old valve has been turned for the first time in years, which can feel unfair when you were only trying to help. Some of these stop weeping when the valve is turned back fully open, so try that and put a cup under it. A drip from the nuts at either end is a compression joint, and a careful quarter turn with a spanner, holding the valve body with a second spanner, often cures it. If it does not, or the leak is getting worse, our leak detection and repair service can sort it the same day.
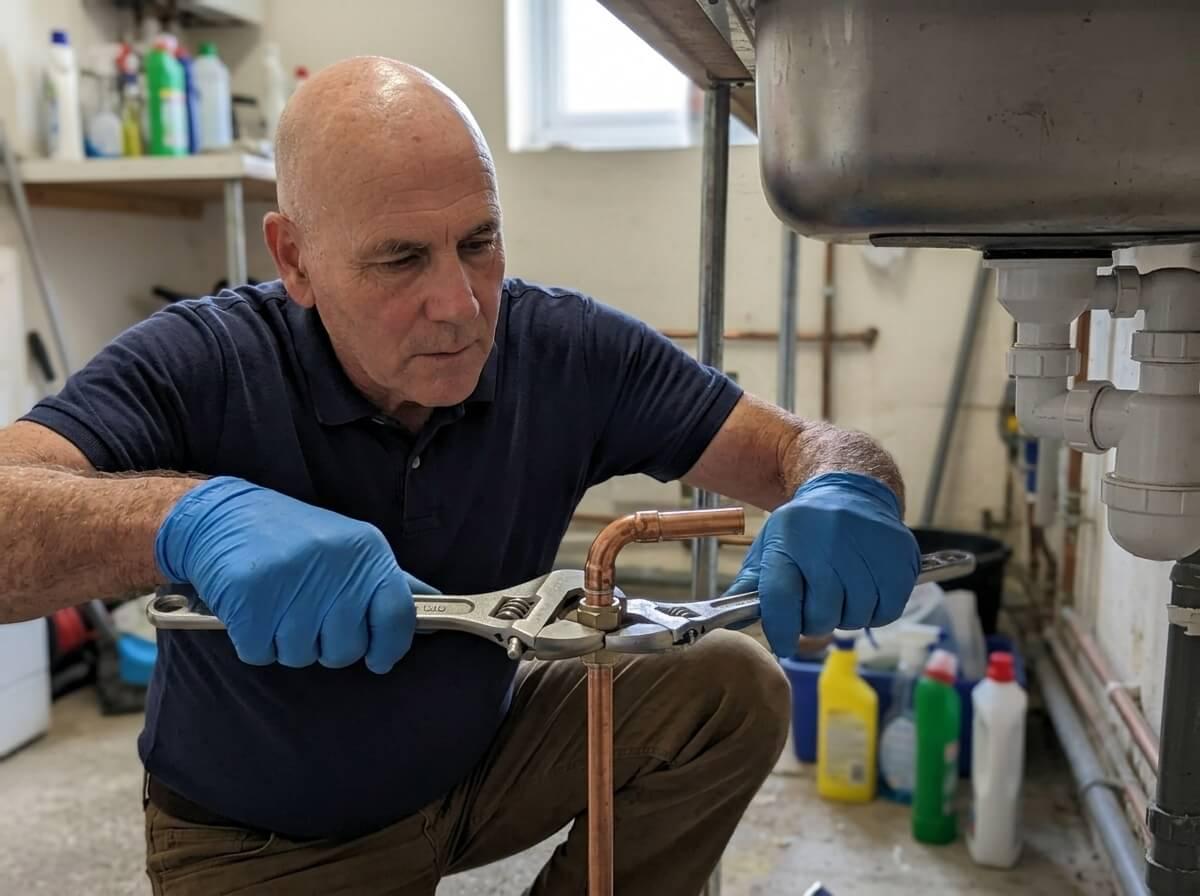
How to Turn the Water Back On After a Repair
It sounds obvious, but a lot of after repair problems start here. Take it slowly.
Check everything is reconnected
Make sure every nut you undid is tight, the tap is closed, and nothing is left disconnected. Have a dry tissue ready.
Open the valve a little at first
Turn the slot or lever partway back. Let the pipe fill gently rather than slamming full pressure onto a new washer or fitting.
Check for drips, then open it fully
Wipe each joint with the tissue. If it stays dry, turn the valve until the slot or lever is fully in line with the pipe.
Run the tap or flush the toilet
Expect a little spluttering while the air clears. If the flow is weaker than before, or the cistern takes ages to fill, the valve is not fully open, or a flake of scale has moved and lodged in it.
If one tap or toilet has been slow ever since, a partly closed or scaled up isolation valve is the first thing I check. There is more on tracking that down in my low water pressure guide.
No Isolation Valve? What to Do in an Emergency
Plenty of homes, especially older ones round Ipswich and the Suffolk villages, have toilets, baths and taps with no isolation valve at all. In that case you have two options, depending on how that fitting is fed.
- ●Mains fed fittings: the kitchen cold tap, and in a house with a combi boiler, almost everything. Turn off the main stopcock.
- ●Tank fed fittings: in a house with a cold water tank in the loft, the bathroom cold taps, toilets and hot water are often fed from the tank. The stopcock stops the tank refilling, but the tank will keep feeding the leak until it is empty. Close the gate valve on the tank outlet if there is one, or run the bath taps to empty it faster. My cold water tank guide explains how to tell which taps are which.
- ●Hot water leaks: closing the cold feed valve on the hot water cylinder stops more water going in. Do not drain or empty a hot water cylinder yourself, and if you have an unvented cylinder, see my hot water cylinder leaking guide first.
Once the panic is over, it is well worth having isolation valves fitted to any toilet or tap that does not have one. It is a small job, usually done in the same visit as a repair, and it means the next problem with that fitting does not mean turning the whole house off.
Replacing or Upgrading an Isolation Valve
A standard 15mm isolation valve is one of the simplest parts in a plumbing system. Replacing one means turning the water off at the stopcock, draining the pipe, undoing the two compression nuts, fitting the new valve with the flow arrow pointing the right way, and testing it. If you are handy and confident with compression joints, it is a reasonable DIY job.
When I replace them, I usually recommend a few upgrades:
- ●Lever handles instead of slots wherever a valve is easy to reach, so you can turn it by hand in an emergency without hunting for a screwdriver.
- ●Full bore valves on the pipes to showers and baths, so they do not restrict the flow.
- ●WRAS approved parts. Valves on drinking water pipes should be suitable for use with drinking water. Cheap unbranded valves from online marketplaces are a false economy and seize sooner.
- ●A valve on every toilet and tap. Anything without one gets one while the water is off anyway.
On price, I will always give you a fair price agreed before work starts. Replacing or adding a valve is usually a short job, and often it is done as part of the repair I was called for in the first place.
Isolation Valves for Landlords and Tenants
If you rent, it is worth knowing where your stopcock and isolation valves are on the day you move in. Using an isolation valve to stop a leak is exactly what a sensible tenant should do, and it limits damage to the property. Repairs to the water supply and sanitary fittings are normally the landlord’s responsibility, so report the fault straight away, in writing, even if you have managed to stop it. GOV.UK has a clear summary of who is responsible for repairs in a rented home.
For landlords, a seized valve is a small fault that can turn a minor leak into an insurance claim. Checking and replacing stiff valves between tenancies costs very little by comparison.
When to Call an Emergency Plumber
An isolation valve is there to buy you time. If you have shut it off and the leak has stopped, the repair can usually wait until a sensible hour. Call straight away if:
- ●The valve will not turn, and the stopcock is stuck too or cannot be found.
- ●The valve is closed but water is still getting through and you cannot stop it further back.
- ●The valve itself, or the pipe next to it, has cracked or is spraying.
- ●Water is near electrics, coming through a ceiling, or soaking into floors.
- ●The only way to stop the leak leaves you without any water, and you have children, elderly relatives or someone unwell at home.
I cover Ipswich and the surrounding towns and villages 24 hours a day, and I am usually with you in about 30 minutes. If the leak is from a burst or split pipe rather than a fitting, our burst pipe repair service will make it safe and repair it on the spot, and if a cistern is the cause, the overflowing cistern service covers fill valves, floats and the isolation valves that go with them. Not sure if it can wait? My guide on what counts as a plumbing emergency will help you decide.
Whoever you call, check they are a member of an approved plumbing scheme. You can look a business up on WaterSafe, which lists plumbers approved to work on drinking water systems.
Isolation Valves: The Key Points
- ●An isolation valve stops the water to one toilet, tap or appliance, so the rest of the house keeps its water.
- ●Slot or lever along the pipe means on. Across the pipe means off. A quarter turn is all it takes.
- ●Gate valves and stopcocks are different: clockwise to close, several turns.
- ●The arrow on the valve shows the direction of flow, not on or off.
- ●Never force a stuck valve. Go to the stopcock and get the valve replaced.
- ●Find and exercise every valve once a year so they work when you need them.