A leaking cold water tank in the loft is easy to miss and quick to get expensive. It sits above the whole house, out of sight, and nobody goes up there until a stain appears round the loft hatch or water starts dripping from a light fitting on the landing. By then the insulation is soaked, the plasterboard is softening, and the tank is still being topped up from the mains every time it drops.
I have been plumbing in Ipswich for more than forty years, and a lot of the houses I work in, the Victorian terraces off Norwich Road, the 1930s semis, the post war estates, still have their original loft tanks or a replacement fitted decades ago. A typical one holds somewhere around 200 litres of water. The good news is that you can stop it in a couple of minutes once you know which valve does what. This guide takes you through exactly that, then shows you how to find the leak, what each type of leak means, and how to tell a quick repair from a tank that has had its day.
Cold Water Tank Leaking? Do These 5 Things First
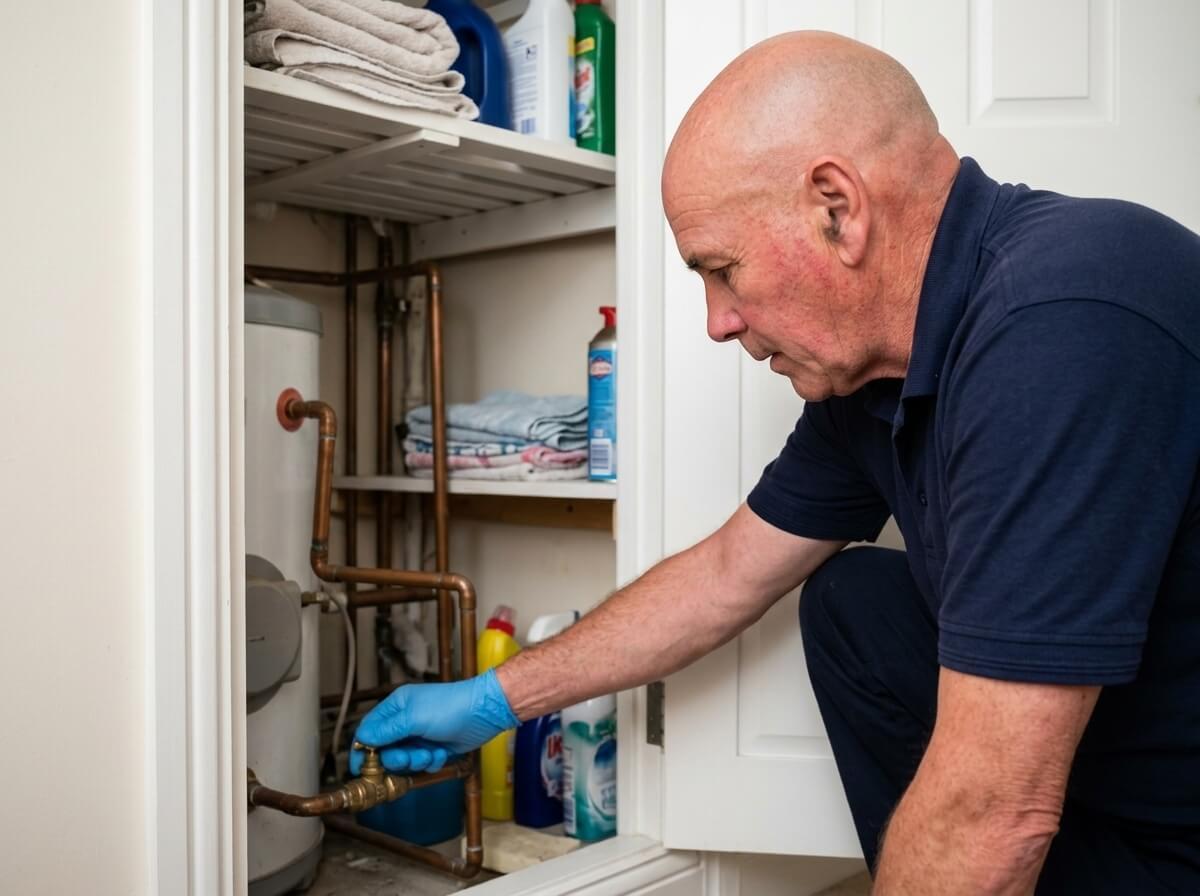
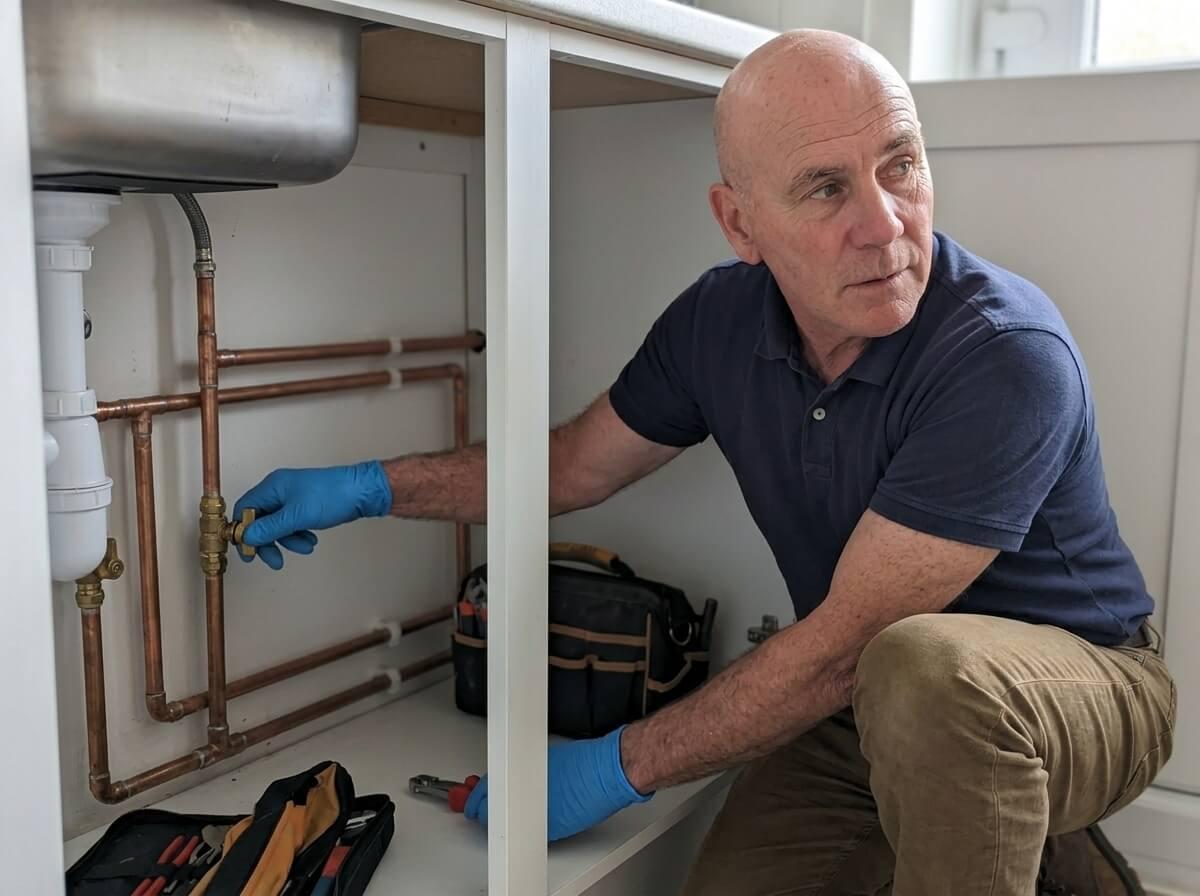
Turn off the main stopcock
The tank is filled by a float valve on the mains pipe, so as long as the mains is on it will keep refilling and keep leaking. Close the main stopcock by turning it clockwise. It is usually under the kitchen sink, but in some older houses it is in the hall, a downstairs cloakroom or under the stairs. If it will not budge, the stuck stopcock guide shows you how to free it safely. In the loft, there may also be a small valve on the mains pipe just before the float valve. Closing that does the same job.
Empty the tank through the taps
Turning off the mains stops the refilling, but the tank is still full. Run the cold taps on the bath and the bathroom basins and keep flushing the toilets. In most homes with a loft tank those are fed from it, so every litre that goes down the plughole is a litre that is not going through your ceiling. The bath cold tap is the fastest. Leave the kitchen cold tap alone: it is fed from the mains and you will want it for drinking water once the stopcock is back on.
Catch the water in the loft
Take a torch, a bucket and some old towels up. Step only on the joists or on boards laid across them, never on the plasterboard between, especially where it is wet. Put the bucket or a large tray directly under the drip. If water is soaking into the insulation, pull the wet insulation back so you can see the ceiling and stop it acting as a sponge.
Protect the rooms and the electrics below
Water from a loft leak often comes through the ceiling at a light fitting, because that is where there is a hole. If it is, switch that lighting circuit off at the consumer unit and do not use the light switch. Move furniture, bedding and electronics out of the way. If the ceiling is bulging, follow the water through the ceiling guide before it gives way.
Work out which tank, then call a plumber
Most lofts have one big tank and, with an older boiler, a small one beside it. The table below shows you how to tell them apart. If it is the small heating tank, switch the boiler off too. Once the water is under control, look for where it is coming from, and if you cannot stop it, or the tank itself has split, call a plumber now.
Which Tank Is Leaking? Know Your Loft First
How you stop the water, and what else you need to switch off, depends on which tank it is. Shine a torch round the loft and see what you have.
| TANK | HOW TO SPOT IT | WHAT IT FEEDS | HOW TO STOP THE WATER |
|---|---|---|---|
| Cold water storage tank (the big one) | Usually a black, blue or grey plastic tank, roughly the size of a large bin or bigger, often on boards over the joists. Older houses may still have a galvanised steel or grey asbestos cement one. | The hot water cylinder, the bath and basin cold taps, and often the toilets and shower. Not the kitchen cold tap. | Close the main stopcock so the float valve stops refilling it, then run the bath cold taps and flush the toilets to empty it. |
| Feed and expansion tank (the small one) | A small plastic tank, about the size of a washing up bowl or a little larger, usually next to the big tank. Only found with an older regular, open vented boiler. | Tops up the central heating radiators and gives the heating water room to expand. | Switch the boiler off, then close the small valve on the pipe feeding its float valve, or the main stopcock. |
| No tank at all | Homes with a combi boiler, or an unvented cylinder, usually have nothing in the loft except perhaps old pipes. | Nothing. Everything runs straight off the mains. | Water in the loft is coming from a pipe, the roof, or condensation. Close the main stopcock if it is a pipe. |
The big tank is the one that does the damage, simply because of how much it holds. The small feed and expansion tank only holds a few litres, but if it is overflowing it can mean a fault in the heating system, so it is worth knowing which one you are looking at before you ring anyone.
Where Is the Water Coming From? Loft Tank Leak Finder
When someone rings me about a leaking loft tank, my first question is always: where exactly is the water? Find the row that matches what you can see. The last two columns show whether it is usually a repair or a new tank, and how quickly it needs sorting.
| WHERE THE WATER IS | LIKELY CAUSE | REPAIR? | URGENCY |
|---|---|---|---|
| Drips from a big nut on the side of the tank, near the bottom | The tank connector where the outlet pipe leaves the tank. Its washer has perished, or the plastic wall has flexed and broken the seal. | Usually repairable | Act today |
| Water running down the outside of the tank from the float valve end | The float valve body or the joint on the mains pipe feeding it. A weeping back nut or a cracked valve body. | Usually repairable | Act today |
| Water spilling from the overflow pipe connection inside the loft | The tank is filling too high because the float valve is letting by, and the overflow fitting itself is not sealed to the tank. | Usually repairable | Within days |
| Water coming over the top rim of the tank | The float valve has failed open and the overflow pipe is blocked, frozen or too small to keep up. | Usually repairable | Act today |
| A line of drips from the side or a corner of a plastic tank | The tank has split. Usually age, frost, or a tank that was never on a solid flat base and has bowed between the joists. | Usually a new tank | Act today |
| Rust streaks, orange water, or a weep from the bottom of a metal tank | A galvanised steel tank rusting through from the inside. Once it starts, more holes follow. | Usually a new tank | Act today |
| A grey, heavy, cement looking tank that is damp or weeping | An old asbestos cement tank that has cracked or whose fittings have failed. Do not cut, drill or break it. | Usually a new tank | Act today |
| The small tank is overflowing, or its water is warm or dirty | Heating water pumping over into the feed and expansion tank, or a split coil inside the hot water cylinder. | Needs checking | Within days |
| Water spraying or dripping from a pipe somewhere in the loft | A burst or split pipe, very often after a frost, or a joint that has come apart. | Usually repairable | Act today |
| Water on the outside of the tank and cold pipes that wipes off and comes back | Condensation. Warm, damp air from the house meeting cold water. Very common in a well insulated loft in winter. | Needs checking | Book in, not urgent |
| Wet insulation or a ceiling stain, but the tank and pipes are dry | Usually rain getting in through the roof, or a leak from a pipe in the floor below the loft. Check after rain. | Needs checking | Within days |
How to Find Exactly Where the Leak Is
Water runs along the underside of a tank and down the pipes before it drips, so the wet patch on the ceiling is rarely right under the leak. This is how I track it down, and you can do the same with a good torch and a roll of kitchen paper.
Get the lid off and look inside
Lift the lid and check the water level. If it is right up at the overflow pipe, or above it, the float valve is not shutting off and the tank is overfilling. If the level is well below the overflow and water is still escaping, the leak is in the tank or one of its fittings below the waterline.
Dry the outside and watch
Wipe the outside of the tank and every connection dry, starting at the top. Hold a dry piece of tissue against each fitting in turn: the float valve, the overflow connector, the outlet connectors near the bottom, and the corners. A leaking joint darkens the tissue straight away.
Check underneath
Shine the torch under the tank at the base board. Water collecting in the middle of the base, with no drip from a fitting, usually means the bottom has split. On a metal tank, look for orange staining or a crust of rust.
Follow every pipe in the loft
Trace the pipes leaving the tank, the mains pipe coming up to it, and any heating pipes, as far as you can. After a cold snap, a split in an exposed pipe is just as likely as a fault in the tank. If you find one, my guide to frozen pipes covers what to do next.
Note when it happens
A leak that only appears after the bath has been run, or after a toilet flushes, points at the float valve or the overflow. One that drips all the time, even with the mains off, is from the tank or a fitting below the water. One that only appears after rain is the roof, not the plumbing.
Common Loft Tank Leaks and How They Are Fixed
Most of the tank leaks I am called to are not the tank at all. They are the fittings that go through its walls, and they can be put right without replacing anything big.
A leaking tank connector at the bottom
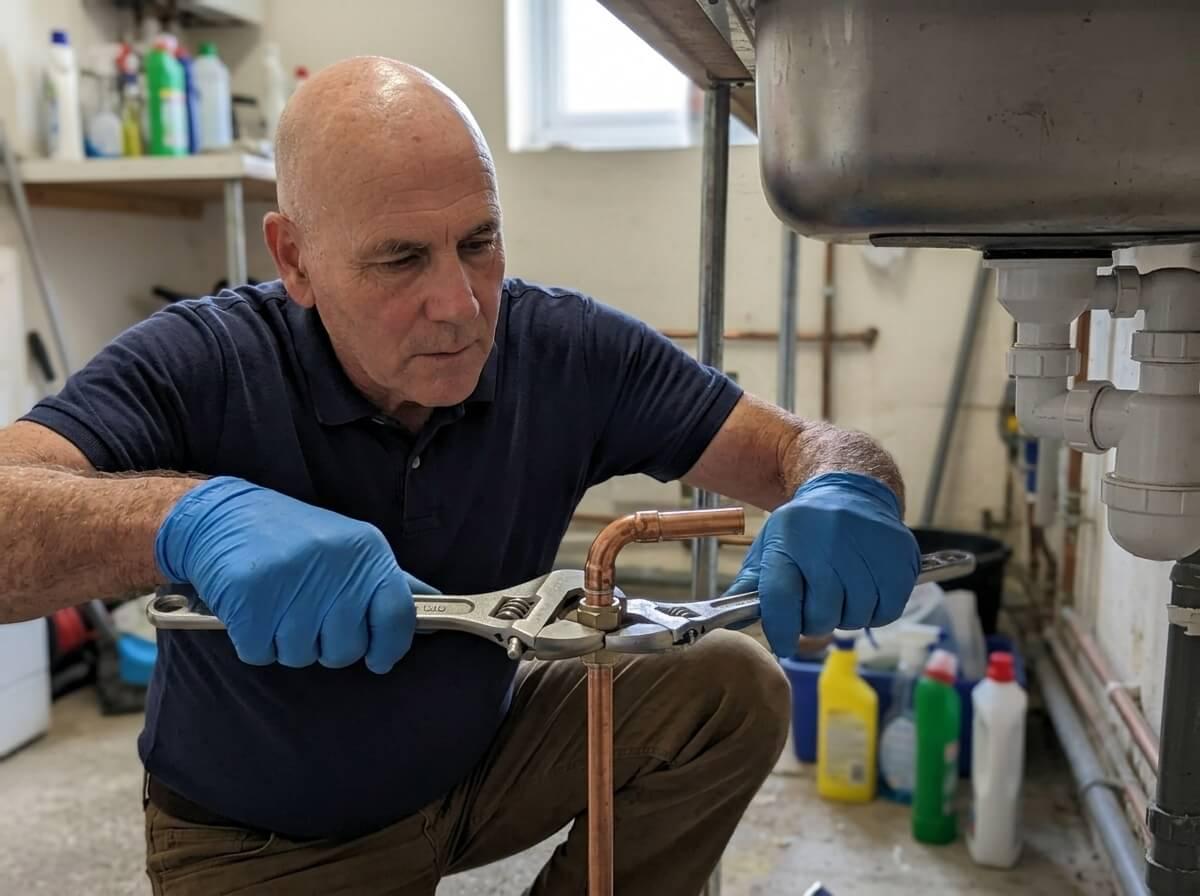
Every pipe that leaves the tank goes through a tank connector: a threaded fitting pushed through a hole in the tank wall, with a washer on each side and a back nut holding it tight. In a plastic tank the wall flexes as the water level goes up and down, and over the years the washers perish. Sometimes a careful quarter turn on the back nut will stop a weep. If it does not, the tank needs draining below that fitting and the washers replacing. It is a straightforward repair, but it is worth having done properly, because a connector that is overtightened on a plastic tank can crack the wall around it.
A leaking float valve or inlet joint
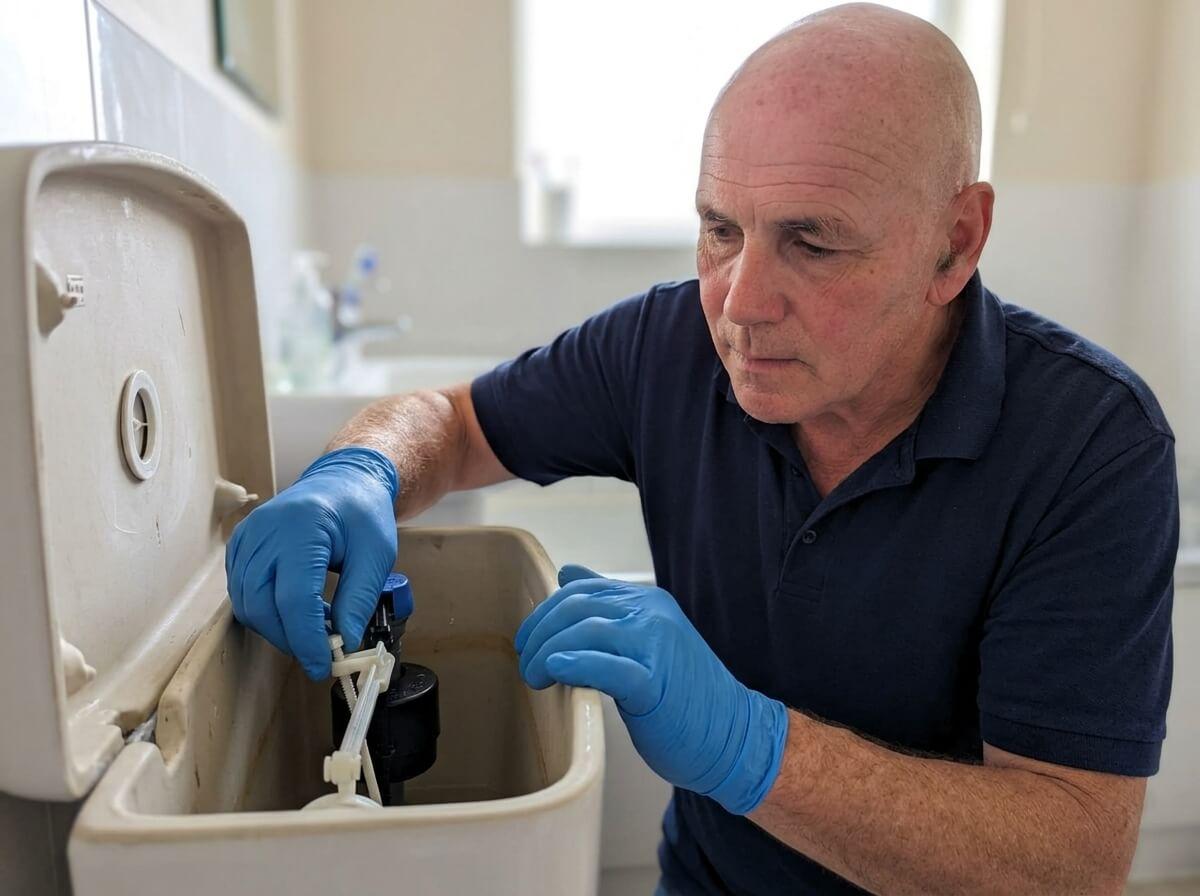
The float valve is what refills the tank. If water is running down the outside of the tank from that end, it is usually the back nut holding the valve through the wall, or the compression joint on the mains pipe feeding it. Both are repairable. If the float valve is leaking through rather than out, letting the tank overfill, a new washer or diaphragm, or a new valve, sorts it out. My overflowing cistern repairs page explains how these valves fail, because a loft tank float valve works in exactly the same way as the one in a toilet cistern.
Water coming out of the overflow, or over the top
The overflow, or warning pipe, is there to carry water safely outside if the float valve fails. If it is dripping outside, that is the system doing its job, and the overflow pipe dripping guide explains what to do. Trouble starts when water escapes inside the loft. That happens when the overflow connector on the tank has lost its seal, when the overflow pipe has come apart at a joint, or when it is blocked with debris or frozen solid in a cold snap, so the tank fills past it and over the rim. Clearing or remaking the overflow and fixing the float valve stops it.
A split or cracked plastic tank
Plastic tanks are tough, but they do not last forever. Sunlight through roof tiles, frost, and the constant flexing all make the plastic brittle. The most common cause I see, though, is a tank sitting straight on the joists with nothing under it. A full tank weighs as much as two or three adults, and without a solid, flat base across the whole bottom it sags between the joists until it cracks. A split plastic tank cannot be reliably repaired. Sealants and patches might slow it for a day, but they will not hold, and some are not safe for water you may wash or bathe in. It needs a new tank on a proper base.
A rusted galvanised steel tank
Many older Ipswich houses still have a galvanised steel tank that was put in when the house was built or first plumbed. They rust from the inside, usually starting at the bottom and around the fittings. If you see orange water in the tank, rust streaks on the outside, or a weep from the base, it is on borrowed time. Patching one hole simply moves the problem to the next thin spot. This is a replacement job, and with a metal tank it is often a good moment to look at the rest of the old pipework too.
An old asbestos cement tank
If your tank is grey, heavy, looks like it is made of cement and has been there since before the 1980s, it may contain asbestos. It is not dangerous sitting there untouched, but it must not be cut, drilled, broken up or dragged through the house. If it is leaking, turn off the water and drain it as normal, then get it looked at by someone who knows how to remove asbestos cement safely. The Health and Safety Executive asbestos guidance explains the rules. Often the safest approach is to fit a new plastic tank beside it and leave the old one empty, or have it removed in one piece.
The small feed and expansion tank overflowing
If it is the small tank that is overflowing, and the water in it is warm, dark or dirty, the heating system is probably pumping hot water up the vent pipe into it, or a coil in the hot water cylinder has split and the two systems are mixing. Switch the boiler off and call a plumber. My guide to a leaking hot water cylinder covers the cylinder side of this.
How to Drain a Loft Tank Fast
If you cannot see or stop the leak, the safest thing is to get the water out of the tank. This is the quickest way to do it without flooding anything else.
Mains off
Close the main stopcock, or the small valve on the mains pipe up to the float valve. Lift the float arm in the tank gently. If water is still coming in, the valve you closed is not the right one.
Open the tank fed taps
Open the cold tap on the bath fully, and the bathroom basin cold taps. Flush each toilet and keep flushing as they refill. The tank will usually empty to the level of its outlet pipe within ten to twenty minutes.
Decide about the hot water
The hot taps also draw from the tank via the cylinder. Running them empties the tank faster, but switch the immersion heater and boiler off first if you do, and only run them until the tank is empty. The cylinder itself stays full of water and is safe.
Bail out what is left
The outlet pipes leave the tank a few centimetres above the bottom, so a little water always stays in it. If the leak is right at the base, bail that last bit out with a jug into a bucket, and mop up with a sponge.
Leave it off until it is fixed
With the stopcock off you will still have no cold water from the kitchen tap. Once the tank is empty and the leak has stopped, you can turn the stopcock back on only if you have closed a valve that isolates the tank itself. Otherwise keep the mains off, and fill a few bottles first so you have drinking water.
Is a Leaking Loft Tank an Emergency?
Some loft tank leaks need someone tonight. Others can wait for a booked visit once the water is under control. This is how I would judge it.
- ●Call now if water is coming through a ceiling or a light fitting, the ceiling is bulging, the tank has split, you cannot find or turn off the stopcock, or a pipe in the loft has burst.
- ●Call within a day if you have stopped the water and drained the tank but need it back in use, or the small heating tank is overflowing with warm water.
- ●Book in if it is a slow weep you can catch in a tray, an overflow dripping outside, or condensation.
The guide to what counts as a plumbing emergency has a wider checklist if you are not sure. If you are anywhere round Ipswich and it is water through the ceiling, ring me straight away.
Repair or Replace the Tank?
Here is the honest way to think about it. If the tank itself is sound and the leak is from a fitting, repair it. If the tank body has split, rusted or is asbestos cement, replace it. A new plastic tank is not an expensive part, and the job is mostly labour: draining down, getting the old one out and the new one in through the loft hatch, and remaking the connections.
A new tank also has to meet the Water Supply (Water Fittings) Regulations 1999, which set out how cold water storage should be protected. In plain terms, a tank that stores water you use in the house should have:
- ●A close fitting lid that keeps out light, dust, insects and the odd bird, but is not airtight.
- ●Insulation round the sides and the lid, so it does not freeze in winter or warm up in summer. Do not insulate under the tank: that gap lets a little warmth up from the house to stop it freezing.
- ●A screened overflow and vent with a fine mesh, so nothing can crawl in through the pipework.
- ●A solid, flat base across the whole bottom of a plastic tank, spread over several joists.
- ●Isolating valves on the outlets and on the mains feed, so it can be shut off on its own next time without killing the water to the whole house.
Some people use a leak as the moment to get rid of the loft tank altogether and go over to a combi boiler or an unvented cylinder. That can be a good move, but it is a bigger job that depends on your mains pressure and how many bathrooms you have. It is not something to decide at midnight with a bucket in the loft. Get the tank safe first, then have a proper conversation about the options.
On cost, I quote first, every time. You will know the price for a repair or a new tank before any work starts, and there is no charge for the quote. My guide to emergency plumber costs explains what goes into a fair price.
What Not to Do
- ✕Do not leave the mains on while you go and look. Every minute it is on, the float valve is refilling the tank and feeding the leak.
- ✕Do not step off the joists. A wet plasterboard ceiling will not take your weight, and a foot through the ceiling is a much bigger repair than the tank.
- ✕Do not touch a wet light fitting or switch. Isolate the circuit at the consumer unit first.
- ✕Do not rely on sealant or tape on a split tank. It will not hold under the weight of the water, and many products are not suitable for drinking water systems.
- ✕Do not cut or drill an old grey cement tank. Treat it as possible asbestos until someone tells you otherwise.
- ✕Do not block the overflow pipe to stop a drip outside. It is your early warning, and blocking it means the next failure comes through the ceiling instead.
- ✕Do not run the boiler with the small tank empty on an open vented heating system. Switch it off until the feed and expansion tank is back in use.
Will Home Insurance Pay for It?
Most buildings insurance policies cover sudden escape of water damage, meaning the ceilings, plaster, flooring and decoration ruined by a leak. They often include trace and access cover, which pays to find a hidden leak. What they usually do not cover is the repair or replacement of the tank or fitting that failed, or damage from a leak that has obviously been dripping for months. Check your policy wording and ring your insurer before any major work if you plan to claim.
Take photos of the tank, the leak, the wet insulation and the ceiling before anything is moved. Keep any failed parts. My burst pipe insurance claim guide covers the whole process, and it works the same way for a loft tank leak.
Who Pays in a Rented Home?
If you rent, the cold water tank and the pipework are almost always the landlord’s responsibility. Turn the water off, drain the tank, take photos and tell your landlord or letting agent straight away, in writing. You are expected to take reasonable steps to limit the damage, which is exactly what the steps above do. The GOV.UK guidance on repairs in rented homes sets out who is responsible for what. If you cannot reach anyone and water is coming through the ceiling, get it made safe and keep the invoice.
How to Stop a Loft Tank Leaking Again
- ●Look in the loft twice a year, ideally before winter and in spring. Check the water level, the lid, and the fittings for any crusting, green staining or damp.
- ●Insulate the tank and pipes, but not underneath. Every pipe in the loft should be lagged, especially the overflow and the mains feed near the eaves.
- ●Keep the loft hatch closed and sealed. It cuts condensation and keeps the loft a steadier temperature.
- ●Fit isolating valves on the tank if you do not have them, so you can stop just the tank next time.
- ●Watch the overflow outside. A drip from it is the cheapest warning you will ever get. Get the float valve looked at before it turns into a flood.
- ●Leave the heating on low if you go away in a freeze, so the loft does not drop low enough to freeze the tank and pipes.
Leaking Loft Tank in Ipswich? Call Philip
If the cold water tank in your loft is leaking anywhere in Ipswich, Felixstowe, Woodbridge, Kesgrave, Stowmarket or the villages around, I will come out day or night. I will make it safe, find the leak, and give you a fair price for a repair or a new tank before any work starts. If you cannot work out where the water is coming from, my leak detection service traces it without pulling the house apart, and if a pipe in the loft has gone, it is handled the same way as any burst pipe repair. For everything else, see the full list of emergency plumbing services.
Whoever you call, check they are a member of an approved plumbing scheme. You can look a business up on WaterSafe, which lists plumbers approved to work on drinking water systems like your cold water storage.