Most people find a leak under the sink the same way: they reach in for the washing up liquid and the bottle is sitting in a puddle, the bin bags are soaked, or the cupboard floor has gone soft and lumpy. Sometimes it is a smell first, damp and musty, or a dark patch spreading across the kitchen floor from under the kickboard.
I have been plumbing in Ipswich for more than forty years, and the cupboard under the sink is where I find more leaks than anywhere else in the house. It is a small dark space with hot and cold mains pipes, two tap hoses, two valves, a waste, a trap, an overflow and often a dishwasher and a washing machine all joined together, and any one of those joints can let go. The good news is that the vast majority of them can be stopped in a minute, found in ten with a roll of kitchen paper, and many are an easy fix. This guide walks you through exactly how I do it.
Water Leaking Under the Sink? Do These 5 Things First
Empty the cupboard and catch the water
Take everything out, put a washing up bowl or a roasting tin under the drip, and soak up the standing water with old towels. Chipboard cupboard bases swell within hours of getting wet, so the quicker the water is off it the better. If water has already run under the kickboard, pull the kickboard off (it usually just unclips) and mop underneath the units too.
Stop using the sink and the appliances
Do not run the tap, empty the bowl, or let the dishwasher or washing machine pump out until you know where the leak is. If the leak is on the waste, every drop that goes down the plughole ends up in the cupboard.
Make the electrics safe
Many kitchens have sockets or fused spurs for the dishwasher, washing machine or a waste disposal unit inside or right next to the sink cupboard. If water is anywhere near a socket, a plug or a cable, switch that circuit off at the consumer unit before you put your hands in. Never pull a plug out of a wet socket.
Turn off the water to the sink
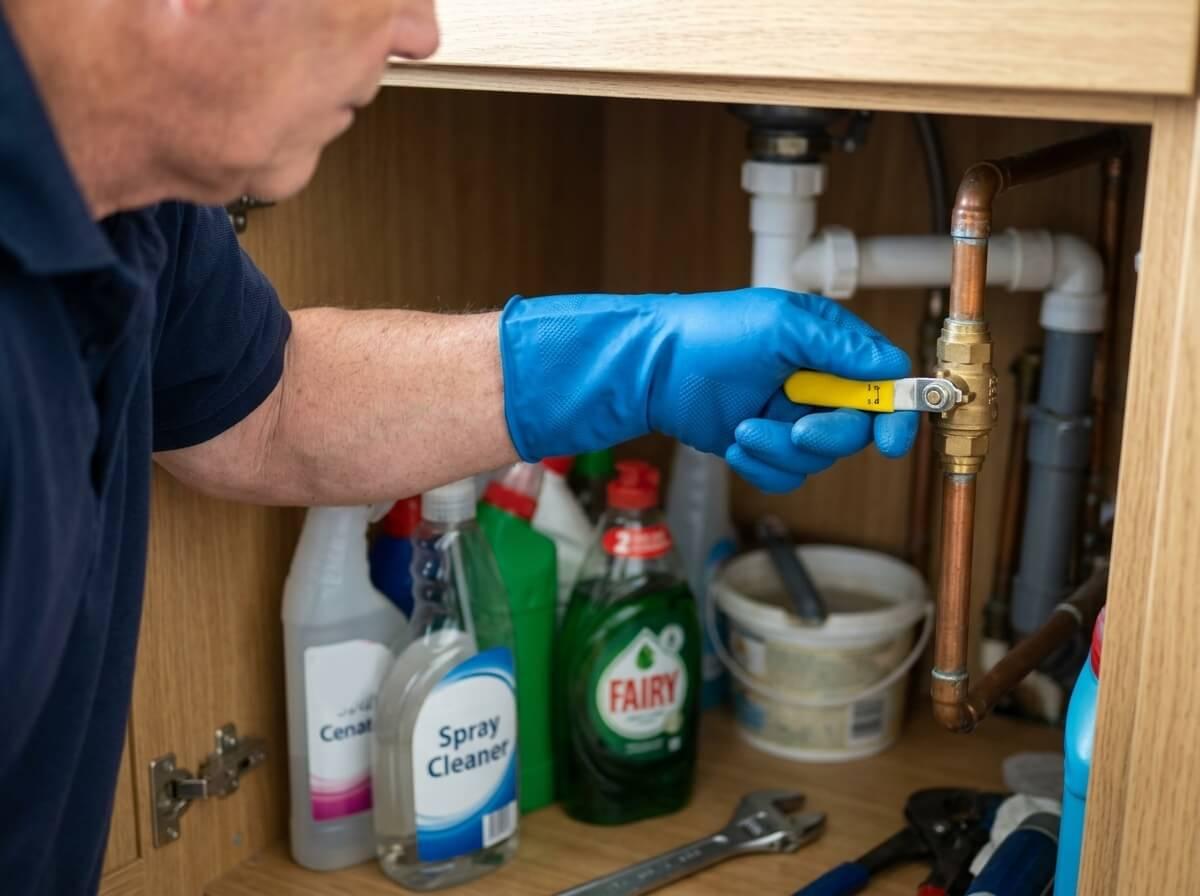
Look on the hot and cold pipes under the sink for small isolation valves, usually a chrome or brass fitting with a screwdriver slot or a little coloured lever. Turn the slot a quarter turn with a flat screwdriver, or the lever a quarter turn, so it sits across the pipe. That stops the water to the tap only and leaves the rest of the house working. If there are no valves, if they will not turn, or the leak is on the valve itself, turn off the main stopcock. If you are not sure where it is, the guide to finding your stopcock will help.
Dry everything and find the leak
Once the water has stopped, wipe every pipe and joint bone dry and lay a sheet of kitchen paper on the cupboard floor. Then use the test below to work out which side of the sink the leak is on, before you start undoing anything.
Supply Leak or Waste Leak? The Two Minute Test
Every pipe under a sink is one of two kinds. The supply pipes bring clean water to the tap at mains pressure, all day and all night, so a leak on them never stops by itself. The waste pipes carry used water away at no pressure at all, so they only leak while water is going down them. Working out which one you are dealing with halves the search straight away. With the valves back on and kitchen paper round the joints, try each of these in turn and watch where the paper gets wet.
| WHEN IT LEAKS | WHICH SIDE | WHERE TO LOOK |
|---|---|---|
| Drips with nothing running at all | Supply (mains pressure) | Tap connectors, isolation valves, compression joints on the copper pipes, or the stopcock if it is in the same cupboard. |
| Only when a tap is on, with the plug in | The tap itself | Worn spout O rings or a failed base seal on the tap, with water running down the tap body and through the hole in the sink. |
| Only when water is going down the plughole | Waste (no pressure) | The seal under the plughole, the trap nuts, a cracked trap, or the joint where the waste goes into the wall. |
| Only when the bowl is full and near the top | Overflow | The overflow outlet seal behind the slot in the sink, or the flexible overflow hose that joins it to the waste. |
| Only when the dishwasher or washing machine runs | Appliance waste or feed | The waste hose on the trap spigot, a missing hose clip, the appliance valve, or a blocked trap backing up. |
| Only when the hot tap is used | Hot supply | The hot tap connector or valve. Fittings that are fine cold can weep as they warm up and expand. |
If it only drips with nothing running, treat it as more urgent. A supply leak runs twenty four hours a day, and if it is on a tap connector it can turn into a burst without warning. A waste leak is messy, but as long as you stop using the sink it cannot get any worse.
Where Is the Water Coming From? Under Sink Leak Finder
When somebody rings me about a leak under the sink, the first thing I ask is where exactly the water is and when it appears. Find the row that matches what you can see. The last two columns show whether it is usually something you can sort yourself, and how quickly it needs dealing with.
| WHERE THE WATER IS | LIKELY CAUSE | WHO FIXES IT | URGENCY |
|---|---|---|---|
| Spraying or a steady stream from a braided hose | A tap connector that has split or pulled out of its crimped end. It is at full mains pressure and will not slow down. | Usually a plumber | Act today |
| Drips from the nut where the hose meets the copper pipe or valve | A loose compression nut, or a squashed or misaligned olive inside it. | Often a DIY fix | Within days |
| Weeping round the screwdriver slot of an isolation valve | The small seal round the valve spindle has worn. Common on valves that have not been turned for years. | Usually a plumber | Within days |
| Water running down the outside of the tap body under the sink | The tap is leaking from its base or spout O rings, and the water is finding its way through the tap hole. | Needs checking | Within days |
| Drips from directly under the plughole, only when draining | The seal between the sink and the waste fitting has perished, or the backnut has worked loose. | Often a DIY fix | Within days |
| Drips from a white plastic trap nut | A loose, overtightened or cross threaded nut, or a washer that has slipped or split. | Often a DIY fix | Fix when you can |
| A hairline crack or a white crusty line on the trap or waste pipe | Plastic that has been cracked by boiling water, a heavy item in the cupboard or too much force on a spanner. | Often a DIY fix | Within days |
| Water at the back of the cupboard, under the worktop edge | Water from the draining board or splashback getting under a failed silicone seal round the sink rim. | Often a DIY fix | Fix when you can |
| Water only when the dishwasher or washing machine empties | The appliance waste hose is loose on the spigot, unclipped or cracked, or the trap is partly blocked. | Often a DIY fix | Within days |
| Cupboard floor wet, every fitting dry | A leak behind the cupboard back panel, under the floor, or from an appliance beside the sink. | Needs checking | Act today |
| Fine beads all along the cold pipe that wipe off and return slowly | Condensation on the cold mains pipe in a warm, steamy kitchen. Not a leak. | Needs checking | Fix when you can |
| Foul smelling water, or water rising up through the plughole | A blocked trap or waste pipe, or a blocked drain outside backing up into the sink. | Usually a plumber | Act today |
How to Find Exactly Which Joint Is Leaking
Water under a sink almost never drips from where it starts. It runs along the underside of a pipe, down the trap and off the lowest point, so the puddle is often a foot away from the leak. This is the method I use, and all you need is a torch, a roll of kitchen paper and a few minutes.
Dry everything completely
Wipe every pipe, valve, nut and the underside of the sink until it is bone dry. A damp joint you missed will send you looking in the wrong place.
Wrap each joint in kitchen paper
Wrap a strip round each joint in turn: both tap connectors where they meet the tap tails, both isolation valves, the waste nut under the plughole, each trap nut, the overflow, the joint into the wall pipe and any appliance hoses. The strip that darkens first is your leak, even if the drip is landing somewhere else.
Test the supply with nothing running
With the valves open and every tap shut, leave it for ten minutes. Any wet paper now is on the supply side: a connector, a valve or a compression joint.
Test the tap with the plug in
Put the plug in and run the cold tap, then the hot, for a minute each. Water reaching the paper now, with nothing going down the waste, is coming from the tap body or its base. Feel the top of the tap where it sits on the sink for dampness too.
Test the waste and the overflow
Fill the bowl almost to the overflow slot and hold it there for a minute, then pull the plug. A leak while it is full points to the overflow. A leak as it drains points to the waste seal, the trap or the wall joint. A few drops of food colouring in the water make a waste leak easy to see on white paper.
Run each appliance on its own
Put the dishwasher or washing machine on a short cycle and watch the paper round its hose when it pumps out. If everything is dry and the cupboard is still getting wet, the leak is behind the units or under the floor, which is a job for leak detection.
Fixing a Leak on the Supply Side
Supply leaks are under mains pressure, so turn the isolation valve or stopcock off before you put a spanner on anything, and keep a towel handy for the water left in the pipe.
Leaking tap connectors (the braided hoses)
Most modern taps are fed by flexible braided tap connectors: a rubber hose inside a stainless steel braid, screwed into the tap at the top and joined to the pipe or valve at the bottom. If one is dripping at the top, the rubber washer in the tap end has usually perished or the connector has been screwed in at an angle. If it is dripping at the bottom, the nut on the compression joint has worked loose or the olive inside it is not sealing.
Inspect the hose itself while you are there. If the braid is rusty, frayed, kinked or bulging, or the metal crimps at either end are green or corroded, replace it, even if it is not leaking yet. These hoses do not wear out slowly: they fail all at once, at full mains pressure, and a split connector can flood a kitchen in minutes. They are inexpensive, and changing one is a short job with the water off.
Leaking compression joints and nuts
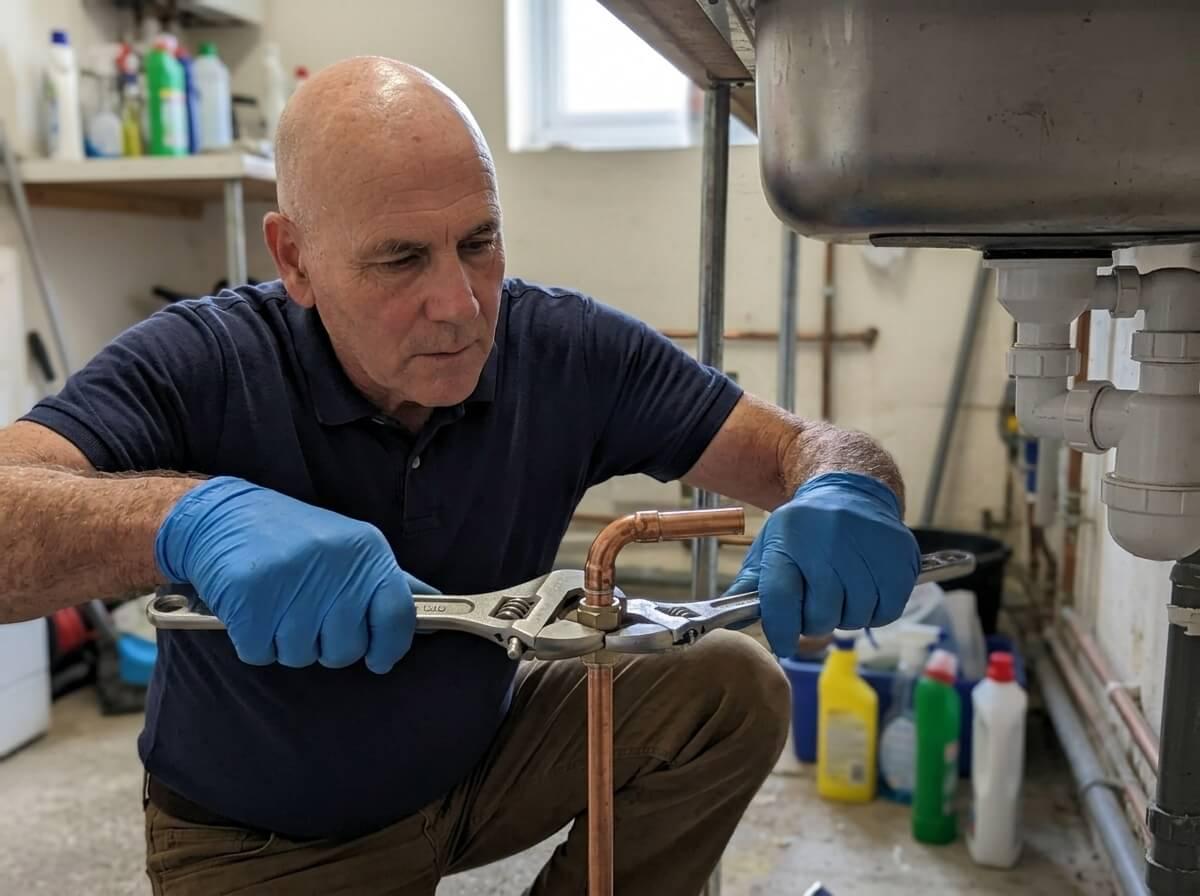
A brass nut on a copper pipe is a compression joint. It seals by squeezing a small brass ring, the olive, onto the pipe. If it is weeping, hold the body of the fitting still with one spanner and turn the nut clockwise with another, an eighth to a quarter of a turn at a time. If that stops it, you are done. If a quarter of a turn does not, stop: more force will only crush the olive. The joint needs undoing, a new olive fitting and remaking. The leaking pipe guide covers compression and push-fit joints in more detail, along with the temporary fixes that hold while you wait for a repair.
Leaking isolation valves
A valve that weeps round its screwdriver slot has a worn spindle seal, often because it has just been turned for the first time in years. On some valves a gentle nip on the small gland nut round the spindle will stop it. If the valve leaks from either end, it is the compression joints, and the method above applies. A valve that will not turn, or leaks badly from the spindle, needs replacing, and because it sits on a live pipe that means turning off the stopcock first.
Water running down from the tap itself
If water reaches the cupboard only when the tap is used, and the waste is dry with the plug in, the leak is in the tap. On a mixer tap the swivel spout is sealed by O rings that wear and let water out round the base of the spout. On any tap, the seal underneath it can fail and let water from the worktop run down through the tap hole. The water then runs down the tap tails and connectors, which is why it so often gets blamed on the hoses. Worn O rings and a dripping spout can usually be repaired; a tap with a corroded body or no spare parts is better replaced. If the tap will not turn off at all, see what to do when a tap won’t turn off.
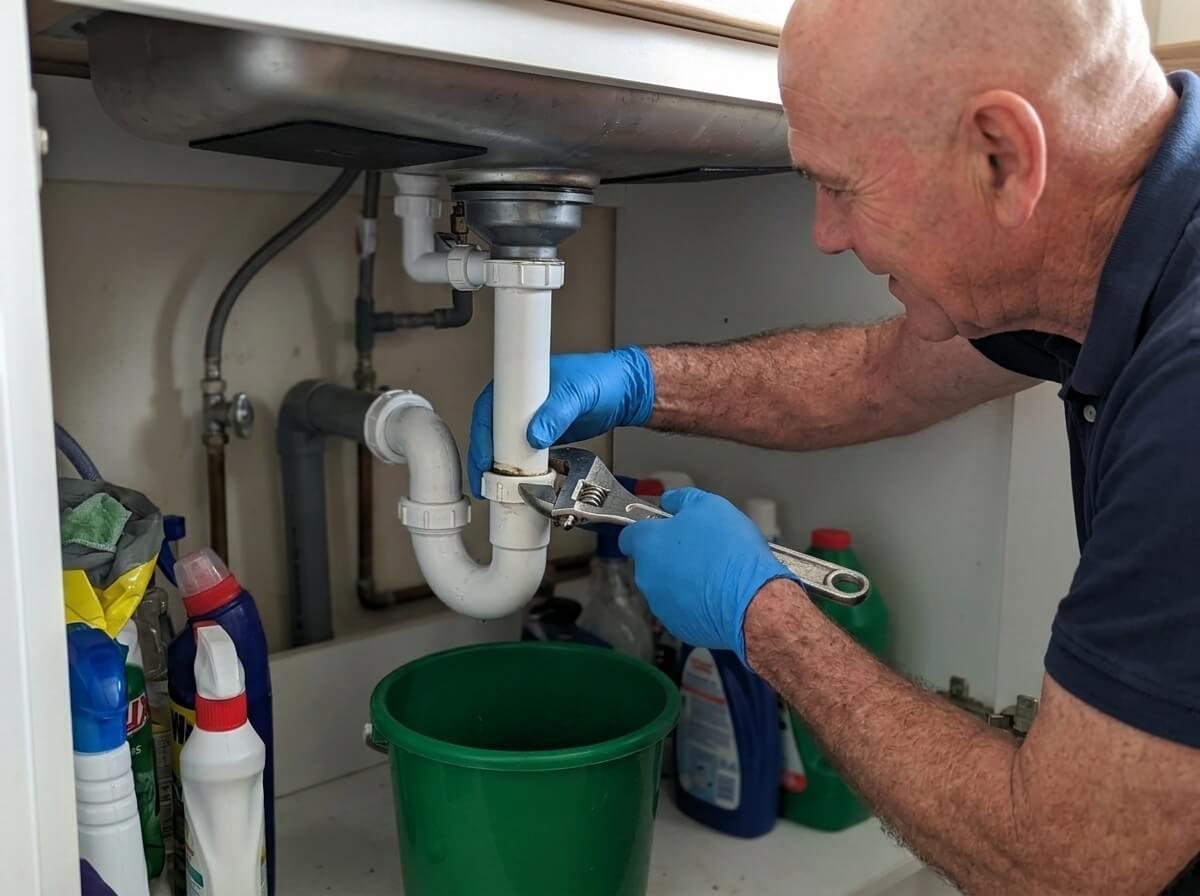
Fixing a Leak on the Waste Side
Waste leaks are not under pressure, so you do not need to turn any water off. Just stop using the sink and put a bucket under the trap before you undo anything, because the trap is always full of water.
Leaking trap nuts
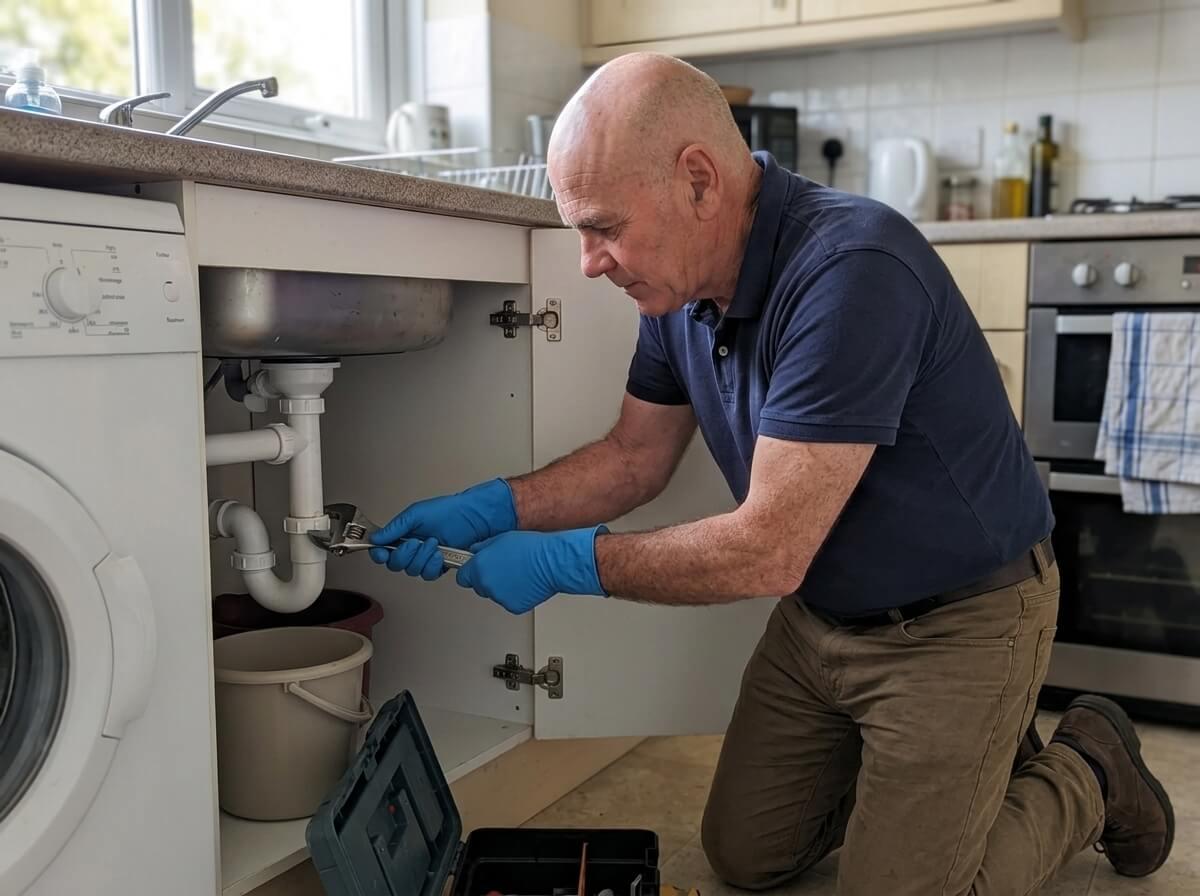
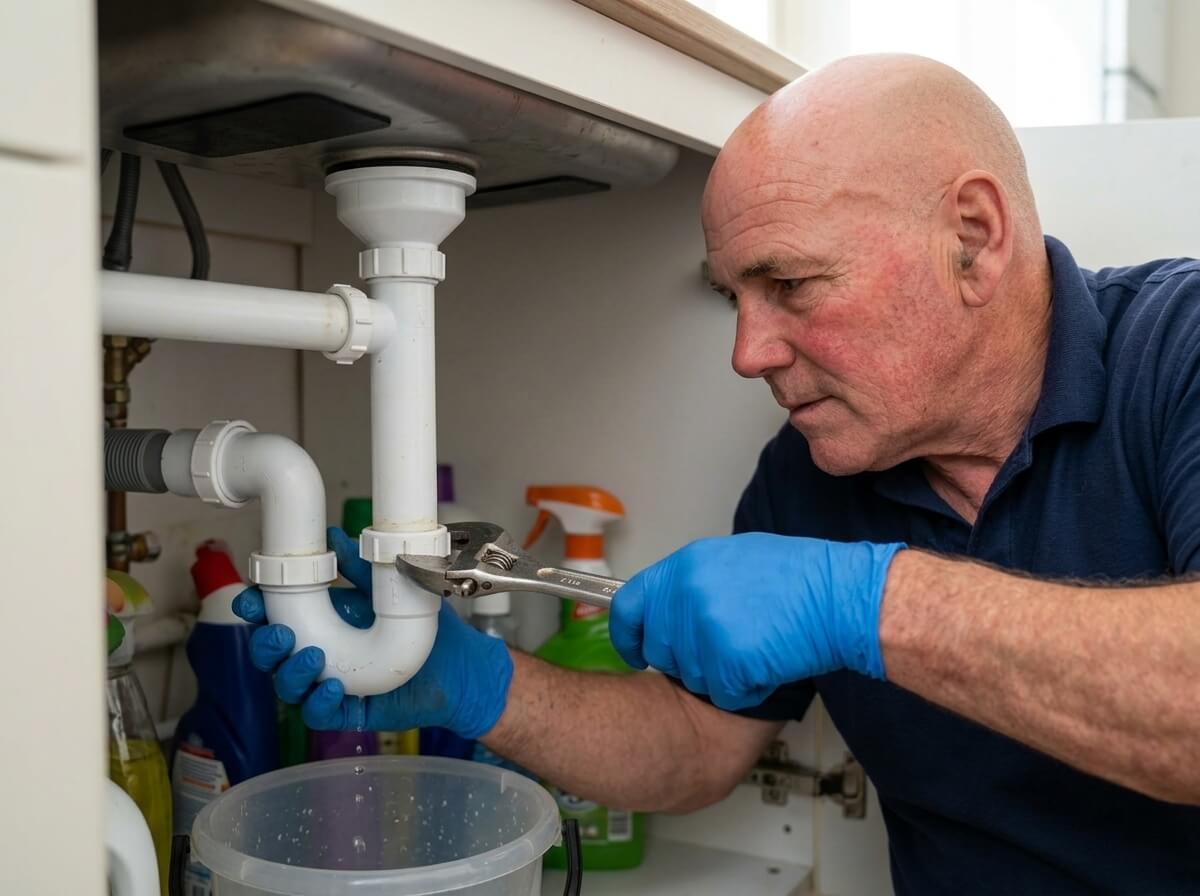
The white plastic nuts on the trap and waste pipe seal with a rubber or plastic washer, not with force. Undo the leaking nut by hand, check the washer is sitting flat and is not split or twisted, make sure the pipe is pushed in square, and do the nut back up hand tight. If it still drips, nip it a little further by hand. A plastic nut that has been done up with a spanner is one of the most common causes of a waste leak I see: it squashes the washer out of place or cracks the nut. If a nut keeps leaking because it has been cross threaded, the trap needs replacing, and a new one is not expensive.
Leaking from under the plughole
If water runs down the outside of the waste directly under the plughole, the seal between the sink and the waste fitting has failed. On most kitchen sinks there is a rubber or plastic washer above and below the sink, clamped by a large backnut, and on many there is a long central screw through the strainer. Sometimes tightening the backnut or the central screw is enough. More often the washers have gone hard and flat with age, and the waste has to come out, be cleaned, and go back with new washers. On a bathroom basin the same job applies, and a pop-up waste can also leak from the rod linkage at the back.
A leaking overflow
Most kitchen sinks and basins have an overflow slot near the top of the bowl, connected to the waste by a flexible hose. If the cupboard gets wet only when the bowl is full, either the overflow outlet has lost its seal against the sink or the flexible hose has split or slipped off. The hose is often trapped behind the bowl and cracks where it has been bent, so look along its whole length with a torch.
Cracked trap or waste pipe
Plastic traps crack from boiling water, from bleach and cleaning bottles being stacked against them, and from too much force. A crack often shows as a fine line with a crusty white deposit. There is no reliable way to repair cracked plastic waste: tape and sealant will not hold for long on a pipe that heats up and cools down every time you use the sink. Replace the trap or the section of pipe.
Leaks when the dishwasher or washing machine empties
Appliances pump their dirty water out under pressure, usually into a spigot on the side of the sink trap. If the hose is not pushed fully on, has no hose clip, or the spigot is cracked, the pump forces water out of the joint. Push the hose fully on and fit a jubilee clip. Make sure the waste hose rises in a loop up to the underside of the worktop before it drops to the spigot, so dirty water cannot run back into the machine. If the trap is partly blocked, the appliance can pump faster than the sink can drain, and the water backs up and out of the weakest joint. Clearing the trap usually cures it. The kitchen sink unblocking guide shows you how.
Water coming in round the sink rim
If the water is at the back or the sides of the cupboard, right under the worktop, and none of the pipes are wet, it is probably getting in from above. Water from the draining board or the tap splashes onto the worktop, finds a gap in the silicone round the sink rim, and runs down the cut edge of the worktop into the cupboard. Over time it swells the worktop around the sink. Cut out the old silicone, clean and dry the edge thoroughly, and run a fresh bead of sanitary silicone. This is the one place silicone is the right fix. Never use it on a pipe joint.
Leaking Under the Bathroom Sink
Bathroom basins leak in the same places as kitchen sinks, with a few differences worth knowing:
- ●Pedestal basins hide the pipes. The pedestal covers the trap and the tap connectors, so the first sign is often water round the foot of the pedestal or a stain on the ceiling below. Ease the pedestal forward carefully to see behind it.
- ●Vanity units trap the water. A drip inside a vanity unit can go unnoticed for weeks while it rots the base and the floor. Check inside every few months.
- ●Pop-up wastes leak at the rod. The lever behind the tap works a rod that runs into the back of the waste through a small seal. If that seal fails, water drips from the back of the waste every time the basin drains.
- ●Upstairs means the ceiling. A slow leak under an upstairs basin often shows first as a brown ring on the ceiling below. If the ceiling is wet or sagging, follow the water through the ceiling guide.
Is a Leak Under the Sink an Emergency?
Call a plumber straight away, day or night, if:
- ●A braided tap connector has split, is spraying, or is visibly bulging.
- ●Water is pouring and the isolation valve will not stop it, or there is no valve and the stopcock will not turn.
- ●Water is near sockets, a fused spur or appliance wiring.
- ●Water is coming through a ceiling below an upstairs basin.
- ●Dirty water or sewage is backing up into the sink or the cupboard.
- ●The cupboard is wet but you cannot find a leak, and the water meter is still turning with everything off.
A slow drip from a trap nut, a weeping valve you have isolated, or a waste leak with the sink out of use is not an emergency, but it should still be fixed within a few days. A constantly wet cupboard grows mould, swells the chipboard base and the plinth, and can rot the floor under the units, which turns a small plumbing job into a new kitchen cabinet. If you are not sure how urgent your leak is, ring me and describe it. I will tell you honestly whether it can wait. You can also see what affects the cost of an emergency plumber.
What Not to Do
- ✕Do not tighten plastic nuts with a spanner. Hand tight is right. Force cracks the nut or squashes the washer, and makes the leak worse.
- ✕Do not keep cranking a compression nut. If a quarter of a turn does not stop it, the olive needs replacing. More force crushes the pipe.
- ✕Do not tape over a bulging or frayed hose. It is about to fail. Turn the valve off and replace it.
- ✕Do not smear silicone on a pipe joint. It will not seal a wet or pressurised joint, and it makes a proper repair harder.
- ✕Do not pour chemical drain cleaner into a leaking waste. It will find the leak, and caustic water in the cupboard is dangerous to skin and eyes, and to children and pets.
- ✕Do not force a seized valve. You can snap the spindle or start a bigger leak. Use the stopcock instead.
- ✕Do not leave the cupboard wet. Dry it out with the door open, or the base will swell and grow mould even after the leak is fixed.
Insurance, Damage and Rented Homes
Most home insurance policies cover the damage that escaping water causes, such as a ruined cupboard, flooring or a ceiling below, but not the cost of repairing the worn part that leaked. Some also cover “trace and access”, the cost of finding a hidden leak. Policies often exclude gradual damage from a leak that has been going on for a long time, so photograph the leak and the damage before you clear up, keep the failed part, and tell your insurer as soon as you can.
If you rent, in most tenancies the landlord is responsible for repairing the water pipes, the waste, the sink and the taps. Your part is to report it promptly, in writing, and do what you reasonably can to limit the damage, such as turning the isolation valve off and catching the water. If it is pouring and you cannot reach your landlord or agent, turn the water off and call an emergency plumber.
How to Stop Leaks Under the Sink Happening Again
- ●Look in the cupboard once a month. Run your hand along the pipes and the cupboard floor. A slight dampness caught early is a washer, not a new cabinet.
- ●Check the tap connectors every year. Replace any braided hose that is rusty, frayed or bulging, and plan to replace them every five to ten years whatever they look like.
- ●Turn the isolation valves twice a year. A quarter turn off and back on keeps them free, so they work when you need them.
- ●Do not overload the cupboard. Heavy bottles leaning on the trap crack it and pull joints apart.
- ●Keep fat out of the sink. Grease blocks the trap, and a blocked trap pushes water out of the joints when the appliances pump out.
- ●Fit a leak alarm. A battery water alarm on the cupboard floor costs very little and beeps at the first drop.
- ●Keep the sink rim sealed. Redo the silicone round the sink when it starts to lift, crack or go black.
Leak Under the Sink in Ipswich? Call Philip
If water is leaking under your sink, empty the cupboard, turn the valves off, catch what you can, and call me. I will stop it, find exactly which joint, hose, valve or seal has failed, and fix it, usually on the first visit, as I carry the common tap connectors, valves, olives, traps and waste fittings on the van. You will get a clear, fair price agreed before I start, and a free, no-obligation quote if a new tap or sink waste is needed.
I cover Ipswich, Felixstowe, Woodbridge, Kesgrave, Martlesham and the surrounding towns, and I answer the phone myself, 24 hours a day, seven days a week, on 07977 857224. For a leaking or blocked sink waste, see our blocked sink and waste pipe service. If the cupboard keeps getting wet and you cannot see why, our leak detection service will find it. For a split hose or pipe, see burst pipe repair, or everything else on the emergency plumbing services page.