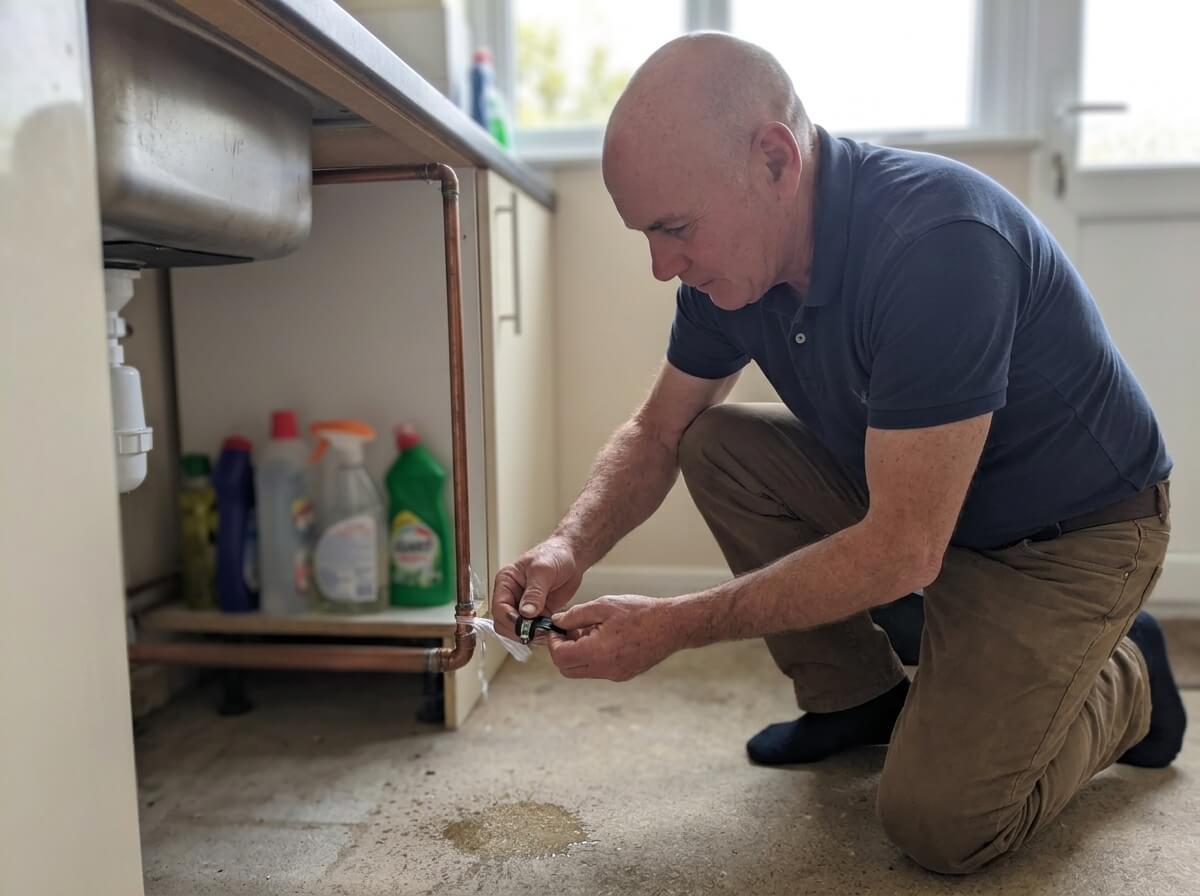
There is a particular feeling when a drill bit suddenly goes soft, or a nail sinks in a little too easily, and then the hole starts to hiss. A second later water is running down the wall, soaking the new carpet, or coming out from under the floorboard you were fixing down.
It happens to careful people every week, and a drilled water pipe is one of the most common emergency calls I get from people putting up shelves, fitting kitchens and laying floors. A 15mm pipe at mains pressure can push out several litres a minute through a drill hole, and a pipe in a wall or floor sends that water where you cannot see it. The good news: what you do in the next two minutes decides most of the damage, and none of it needs tools. This guide covers those first steps, how to tell which pipe you have hit, and how the hole gets fixed for good.
Drilled Through a Water Pipe? Do These 6 Things Now
Read it once, then act. Speed matters more than getting every step perfect.
Stop, and leave the bit, nail or screw in the pipe
Do not pull it out. Whatever made the hole is now partly plugging it, and pulling it out under mains pressure turns a weep into a jet. Unplug the drill and leave the bit where it is if you can, or let go of it and leave it in the wall.
Turn off the main stopcock
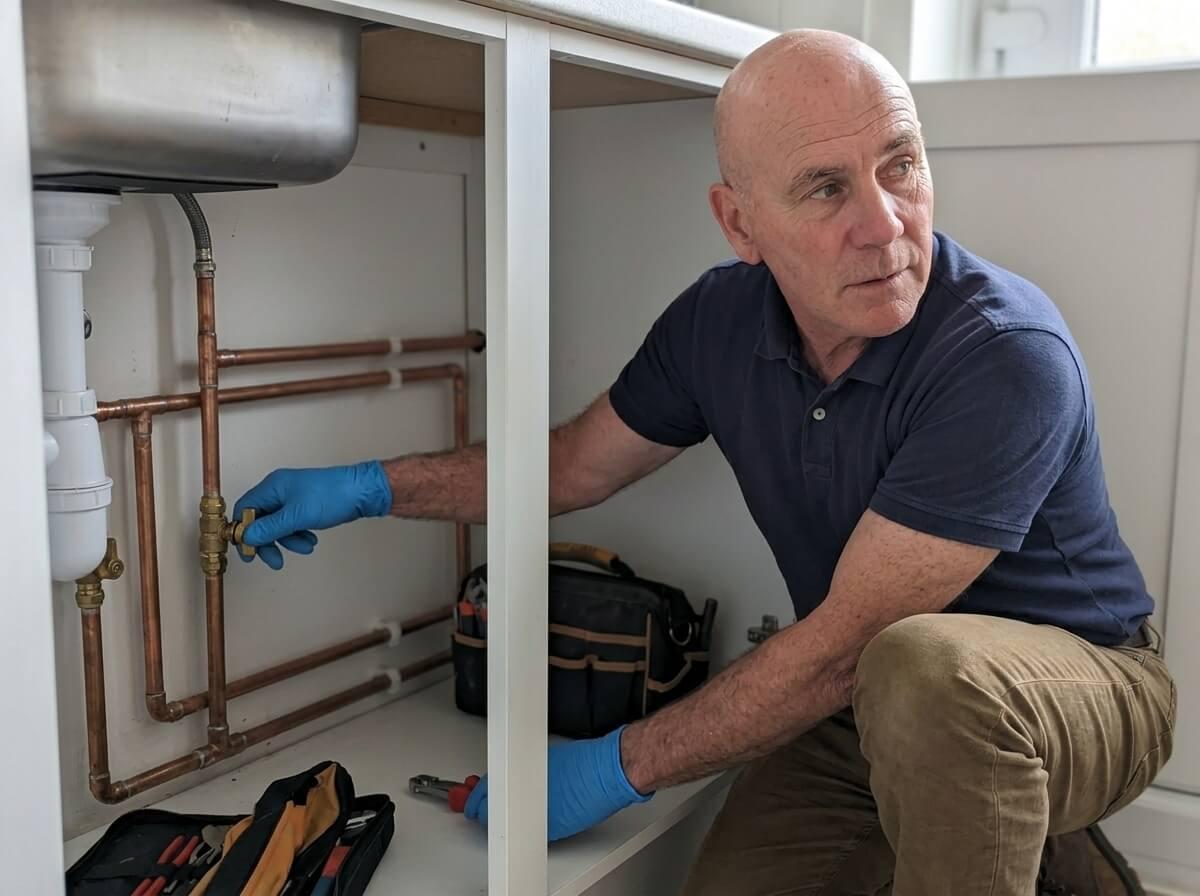
It is usually under the kitchen sink, but can be in a downstairs cloakroom, under the stairs or by the front door. Turn it clockwise until it stops. Our guide on how to locate your stopcock covers the usual hiding places. If it will not turn, do not force it with a long spanner: see what to do when a stopcock is stuck, and use the outside stop tap in the pavement if you have to.
Make the electrics safe
Pipes and cables often run along the same routes, and water runs down inside a wall to the sockets below. If water is near any socket, switch, light or the cable you may also have hit, do not touch them. Switch off at the consumer unit with dry hands, from somewhere dry. If you think the drill hit a cable as well, leave the drill alone until the power is off.
Drain the pipe
With the stopcock off, open the lowest cold tap in the house, usually the kitchen, and flush the toilets. That takes the pressure off the hole and empties the pipe faster. If the water keeps coming, you have probably hit a hot, tank-fed or heating pipe: jump to when the stopcock will not stop it.
Contain the water
Towels along the skirting, a bucket or tray under the hole, rugs and furniture out of the way. If it is coming through a ceiling below, follow our guide on water leaking through the ceiling, especially if it is near a light fitting.
Mark it, photograph it, then call
Put a strip of tape and a pencil mark on the exact spot, and note the depth and angle you were drilling at. Photograph the hole, the wall or floor and any damage, with the time showing. Then call a plumber. That mark saves a lot of opening up later.
Which Pipe Have You Hit?
The colour, temperature and pressure of the water tell you a lot, and they decide which valve actually stops it. This is the quickest way to work it out.
| PIPE | HOW TO TELL | WHAT STOPS IT |
|---|---|---|
| Cold mains water pipe | Clear, cold water at full pressure. Often runs up from the kitchen stopcock or across to the bathroom and toilet | The main stopcock. Then open the lowest cold tap to drain the pipe |
| Hot water pipe (combi boiler) | Clean water that turns hot within a few seconds. Pipe runs from the boiler to the taps | The main stopcock, because a combi heats mains water as it passes through. Turn the boiler off too |
| Hot water pipe (cylinder and loft tank) | Hot or warm clean water at gentler pressure. You have an airing cupboard with a hot water cylinder | The stopcock will not do it alone. Close the valve on the cold feed into the cylinder, then run the hot taps |
| Central heating pipe | Warm or hot water, often grey or black. A combi pressure gauge drops. Pipes run to and from radiators | Turn the boiler off. The leak slows as the system pressure falls. A loft header tank needs its supply turned off |
| Cold pipe from a loft tank | Cold, low pressure water to a bath, basin or toilet upstairs, carrying on after the stopcock is off | Turn off the stopcock so the tank stops refilling, then run the bath cold tap to empty the tank |
| Waste or soil pipe | Dry until someone uses the sink, bath, shower or toilet above it, then dirty water appears | Stop using everything that drains into it, and tell everyone in the house |
| Gas pipe | A smell of gas or a hissing sound. No water. Usually copper, sometimes marked with yellow tape | Do not touch switches. Get everyone out, and call 0800 111 999 from outside |
The cold mains pipe is by far the most common. It runs from the stopcock to the kitchen tap, the cold water tank in the loft if you have one, and in most newer homes to every cold tap and toilet. Heating pipes come a close second, because they run along walls and under floors to every radiator in the house.
Should You Pull the Nail or Screw Out?
Not yet. This is the mistake I see most often, and it is an understandable one: something is stuck in your pipe, so you want it out. But a nail or screw in the hole works like a cork. Most of the time it slows the leak to a trickle, sometimes to nothing at all.
- ✓Leave it in until the stopcock is off and the taps have run dry. Then it does not matter.
- ✓If the drill is stuck in the wall, unplug it or take the battery off and support it so it does not drop and lever the hole wider.
- ✕Do not wiggle it to see if it is in a pipe. If water is appearing, it is. Moving it opens the hole.
- ✕Do not leave it in as the fix. Steel fixings corrode against copper. The hole that was sealed today can start weeping in a month or a year, out of sight.
One more thing. A drill bit usually goes in one side of a pipe and straight out the other. A nail often does the same. So when the pipe is opened up, there are nearly always two holes, not one, and the one on the far side is the one you cannot see.
When the Stopcock Will Not Stop It
If you have turned the stopcock off, run the kitchen tap dry, and the hole is still pouring, you have hit a pipe that is not fed directly from the mains. There are three usual suspects.
A hot water pipe from a cylinder
If your hot water is stored in a cylinder in an airing cupboard, it is usually fed by a cold water tank in the loft. That tank holds a lot of water and will happily empty it through your drill hole. Find the pipe coming into the bottom of the cylinder from above. It usually has a gate valve with a round wheel or a lever. Turn it clockwise to close it, then run the hot taps. Turn off the immersion heater and set the boiler to off while the cylinder is not being refilled.
A cold pipe from the loft tank
In many older Ipswich houses, the bath, basin and toilet upstairs are fed from that same loft tank, not the mains. With the stopcock off, the tank stops refilling. Run the bath cold tap and flush the toilets and it will empty in a few minutes. If there is a valve on the outlet pipe at the tank, closing it stops the flow straight away. Our guide to a cold water tank leaking in the loft shows what to look for up there.
A central heating pipe
Heating water is warm, often dark grey or black, and smells metallic. Turn the boiler off first. With a combi or system boiler, the heating is a sealed loop: the pressure gauge on the boiler will drop towards zero, the leak will slow, and the boiler will lock out on low pressure. That is normal. Do not top it up with the filling loop until the hole is repaired, or you are just refilling the leak.
Older open-vented systems have a small feed and expansion tank in the loft that keeps topping the heating up. With the stopcock off, it stops refilling and the leak slows once it is empty. A sealed system usually holds less water than people expect, but on either type, a heating leak should be repaired the same day so the radiators can be refilled, bled and the inhibitor topped up.
Copper, Plastic or Lead: Why It Matters
What the pipe is made of changes how it fails, how easy it is to find, and how it gets repaired.
- ●Copper: the most common in Ipswich homes, usually 15mm for taps and toilets, 22mm for main runs, and sometimes 8mm or 10mm microbore for radiators. A drill goes through it easily and a nail can bend it flat. Metal detectors find it reasonably well.
- ●Plastic (white, grey or cream): common in newer homes, extensions and stud walls. It is soft, so a nail or screw slides through without much warning, and most pipe and cable detectors cannot see it unless it has a metal layer inside. If you have plastic pipes, assume the detector is blind to them.
- ●Lead: still found as the incoming supply in some older terraced houses. It is soft and splits easily. A pierced lead pipe should be cut out and replaced with modern pipe rather than patched, and it is a good chance to get rid of the lead for good.
- ●Plastic waste pipe: the grey or white pipes from sinks, baths and showers. They are not under pressure, so they only leak when used, but a hole in one hidden in a wall can soak it for weeks before anyone notices.
Where People Hit Pipes Most Often
After plenty of years doing this, the same places come up again and again. If you are planning a job in any of them, slow down and check first.
| WHERE | WHY PIPES GET HIT THERE |
|---|---|
| Under floorboards | Pipes sit in notches cut into the top of the joists, exactly where floorboard nails and screws go in. Re-fixing a squeaky board is a classic |
| Fitting carpet grippers | Gripper pins and screws around the edge of the room meet pipes running along the wall to radiators |
| Behind the kitchen sink and units | Fixing wall units, splashbacks and worktop brackets near the supply and the stopcock |
| Bathroom walls | Towel rails, toilet roll holders, shower screens and mirrors, with pipes buried in the plaster right behind |
| Either side of radiators | Shelves and curtain poles above a radiator, with the flow and return pipes running up or down the wall |
| Stud walls | Pipes run through holes in the timber studs and noggins, and plastic pipe is invisible to most detectors |
| Skirting and boxing | Re-fixing skirting boards and pipe boxing with long nails or screws |
Floors catch more people out than walls.Pipes under a suspended timber floor cross the joists in small notches cut into the top edge, right under the floorboard. The floorboard nails go into the top of the joists too. So the one place you are meant to nail or screw a board down is the same place a pipe is most likely to be. The “screw down the squeaky board” fix is behind a lot of the floor leaks I attend.
It Is Not Leaking. Is It OK to Leave?
Sometimes a nail or screw goes into a pipe and nothing happens. Perhaps it nicked the side, or the fixing sealed the hole perfectly. People often find out years later, when a carpet is lifted and there is a screw sitting in a pipe with a green stain round it.
It is tempting to leave it. I would not. The seal is only held by friction, and steel and copper together corrode. The pipe expands and contracts every time hot water or heating runs through it. Sooner or later the hole opens up, and because it is under a floor or inside a wall, it can leak for weeks before you see it. A pipe repaired while it is dry and exposed is a small job. The same pipe found by a stain on the ceiling below is a much bigger one.
Signs a fixing you put in a while ago has found a pipe:
- ●A damp patch, bubbling paint or a tide mark spreading out from where you drilled or nailed.
- ●Carpet or underlay damp along one edge of the room, often near a gripper.
- ●A combi boiler that keeps losing pressure for no obvious reason.
- ●Higher water bills, or a water meter that keeps turning when nothing is running.
- ●A musty smell or mould in a corner that was dry before.
Our guide to the signs of a hidden water leak explains the meter test that confirms it, and for a leak you cannot see, our water leak under the floor and water leaking from a wall guides go into more detail.
Can You Fix a Drilled Pipe Yourself?
Temporarily, sometimes. Properly, it depends on where the pipe is and how confident you are. Here is how the usual temporary fixes compare on a drill or nail hole specifically.
| FIX | GOOD FOR | LIMITS |
|---|---|---|
| Leave the nail or screw in place | The fastest way to slow the leak while you get the water off | Only for the next few minutes. It is not a repair and will leak again |
| Pipe repair clamp | A rubber pad and metal clamp over the hole. Good on an exposed, straight run of copper | Needs room all round the pipe. Will not seal a hole on a bend or joint |
| Epoxy pipe repair putty | Works on small holes in copper and some plastics once the pipe is drained and dry | Will not cure on a wet, pressurised pipe. Hours, not seconds, before the water can go back on |
| Self-amalgamating repair tape | Stretched tightly over a pinhole, it can hold for a day or two | Struggles at mains pressure and on hot pipes. Not suitable inside a wall or floor |
| Isolate the pipe and leave it off | If the pipe feeds one tap or toilet, an isolation valve or capped end gets the rest of the house back on | Only works where there is a valve between the hole and the rest of the system |
None of these are meant to go back inside a wall or under a floor. They are for getting you through the night with the water on, on a pipe you can see and reach. Our guide on how to stop a leaking pipe goes through each one in more detail.
Doing the permanent repair yourself
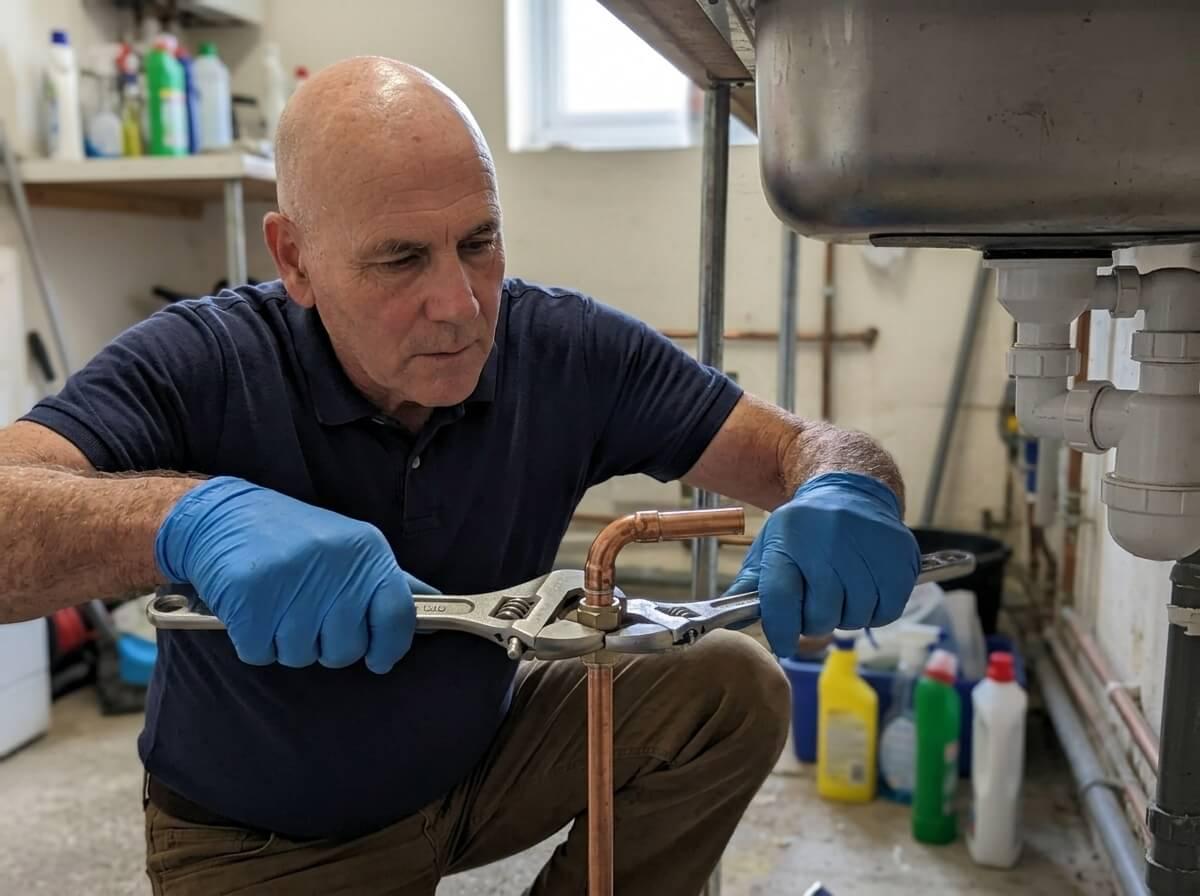
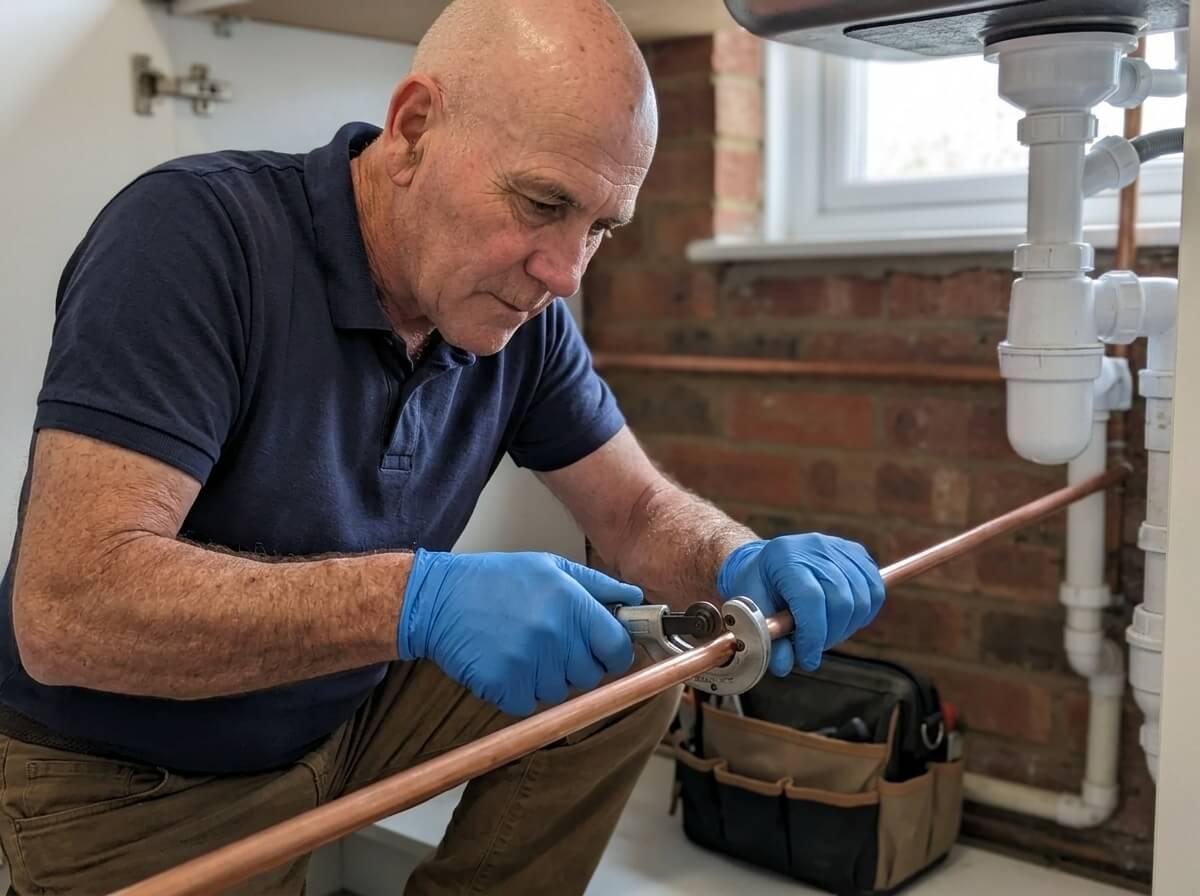
If the pipe is exposed, you can see both sides of it, and you are comfortable cutting pipe, a push-fit repair coupling is the most DIY-friendly permanent fix. Cut out the damaged section with a pipe cutter, deburr the ends, fit pipe inserts if it is plastic, mark the insertion depth and push the coupling fully home. Check both sides of the pipe for holes first.
How a Plumber Repairs a Drilled Pipe
Most drilled pipe repairs are straightforward once the pipe can be reached. This is what I do on a typical call out.
Make it safe and isolate
Check the electrics are off where they need to be, confirm which pipe has been hit, and isolate it at the closest valve so as much of the house as possible keeps its water.
Open up as little as possible
Using your mark, I cut a neat opening in the plaster or lift one board. In a wall, that is usually a small square around the hole, big enough to get a cutter and a coupling in. In a floor, often just one board.
Cut out the damaged section
I check both sides of the pipe, then cut out a short length either side of the holes, so the new joints land on clean, round, undamaged pipe.
Fit the repair
On copper, a soldered or compression slip coupling, or a push-fit repair coupling. On plastic, push-fit couplings with pipe inserts. Lead is replaced with modern pipe and a proper transition fitting. Heating pipes are often repaired with soldered joints, because they are hidden for good.
Pressure test before it is closed
The water goes back on and the joint is checked dry with tissue, then checked again after a while under pressure. On heating, the system is refilled, bled, inhibitor added and the boiler pressure set.
Leave it ready to make good
I leave the opening clean and dry, and can protect the pipe where it runs close to the surface, so the plasterer or floor fitter can close it up and nobody puts a fixing through it again.
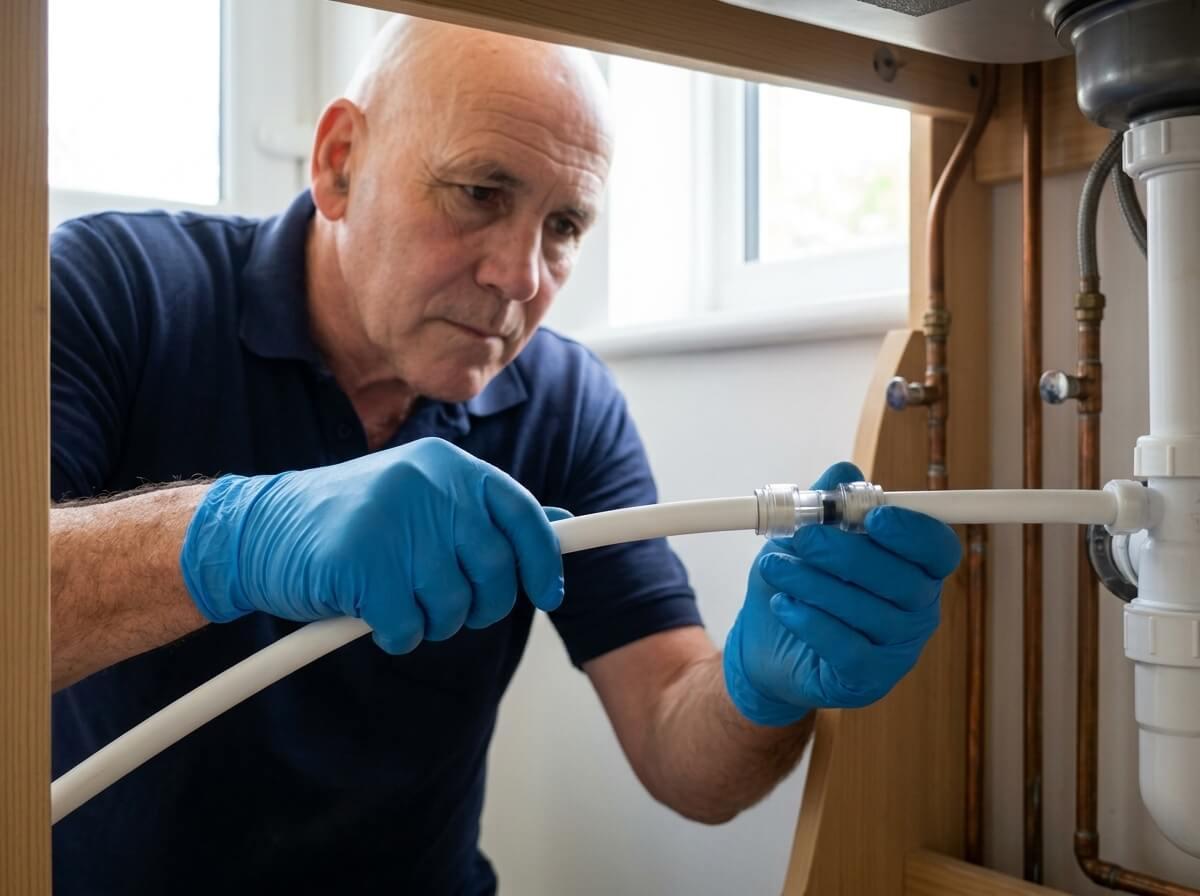
A straightforward drilled pipe repair, with the pipe in reach, is often done within the hour. Pipes under a tiled floor, a fitted kitchen or a shower take longer, because getting to them safely is most of the job. Either way, I agree a fair price before any work starts.
Is a Drilled Pipe an Emergency?
If water is still coming out and you cannot stop it, yes, call straight away. If water has reached electrics or is coming through a ceiling, yes. If it is the only toilet in the house or you are without any water, it is urgent. If the stopcock is off, the pipe is drained and everyone is safe, it can usually wait for a same day visit, which also tends to cost less than a night call out.
- ✕Call now: water you cannot stop, water near electrics, a ceiling bulging below, a heating pipe on a cold night with vulnerable people in the house, or a smell of gas (gas emergency line first).
- ✓Same day: stopcock off and holding, or a nail that has sealed the hole and is not leaking.
- ✓Book in: an old fixing you have found in a dry pipe, with no sign of a leak.
Not sure? Our guide to what counts as a plumbing emergency walks through it.
Will Home Insurance Pay for a Drilled Pipe?
Often, partly. Most buildings policies split it in two. The water damage, to ceilings, floors, plaster and contents, is usually an escape of water claim. The hole you made in the pipe is accidental damage, which on many policies is an optional extra. Without it, you may find the damage is covered but the pipe repair is not.
- ●Escape of water excess: many insurers set a higher excess for escape of water than for other claims. Check it before you claim for a small repair.
- ●Trace and access: cover for opening up to find and reach a leak is common, but usually capped. If the pipe is under a tiled floor, it matters.
- ●Report it quickly: insurers can reduce claims where a leak was known about and left running, or where water was not turned off promptly.
- ●Keep evidence: your photos, the drill bit or nail, the plumber’s invoice and a short note of what happened.
Renting? Tell your landlord or agent straight away, in writing, even if it is fixed. A tenant who damages a pipe can be liable for the cost, but a leak hidden to avoid the conversation costs everyone more. If a tradesperson did it, it is their responsibility and their insurance. Our guide to making a burst pipe insurance claim covers what insurers ask for.
How to Avoid Drilling Into a Pipe Next Time
There is no completely safe zone for pipes. Electrical cables have prescribed zones under the wiring regulations, which Electrical Safety First can explain, but water and heating pipes can be anywhere a plumber found convenient. These habits prevent most accidents.
- ✓Follow the lines. Pipes usually run straight up or down from taps, toilets, radiators, the boiler and the stopcock, and straight across between them. Do not drill on those lines.
- ✓Look on the other side. Check the room behind, above and below. A radiator or a bathroom on the other side of the wall tells you what is in it.
- ✓Use a detector, and know its limits. It will find most copper pipe and live cables. It will not find most plastic pipe.
- ✓Lift a floorboard first. Before you screw boards down or fit grippers, lift one and look at where the pipes cross the joists.
- ✓Use the shortest fixing that works. A plug and screw only needs to get through the plaster and into the masonry behind. Long screws find pipes.
- ✓Drill shallow first. Drill through the plaster only, look in the hole, then go on. Stop if the bit suddenly runs easier or the dust changes colour.
- ✓Know where your stopcock is before you start. And check it turns. Thirty seconds of checking saves a lot of water if the worst happens.
The Chartered Institute of Plumbing and Heating Engineering gives the same advice: know where your stop valve is and test it regularly, so you can turn it off quickly.
Drilled Through a Pipe in Ipswich? Call Philip
Our burst pipe repair service covers Ipswich, Felixstowe, Woodbridge, Kesgrave and the surrounding towns and villages 24 hours a day, usually with you in about 30 minutes for local emergencies. I find the hole, open up as little as possible, make a permanent repair and test it before anything is closed up. If the water has run inside a wall or under a floor and you are not sure how far, our leak detection service finds where it has gone before it turns into damp and mould. For anything else, see all our emergency plumbing services.
Drilled Through a Water Pipe: The Key Points
- ●Leave the bit, nail or screw in the hole until the water is off.
- ●Turn off the main stopcock, then open the lowest cold tap to drain the pipe.
- ●Keep away from wet electrics and switch off at the consumer unit.
- ●Still pouring? It is a hot, tank-fed or heating pipe. Close the cylinder feed valve or turn the boiler off.
- ●Smell gas? Get out and call 0800 111 999 from outside.
- ●Expect two holes, not one. A nail that has sealed itself still needs a proper repair.
- ●Before you drill again: follow the pipe lines, lift a board, and use short fixings.