Outside taps get a hard life. They sit on a cold north or east wall all winter, get yanked about with a hosepipe all summer, and most people never think about them until one starts dripping on the patio or, on the first mild morning after a hard frost, starts spraying water across the garden.
I have been fixing them across Ipswich and Suffolk for more than forty years, and the good news is that most leaks come down to three cheap parts: a washer, a gland nut and a hose connector. The bad news is the one people miss. A leak you cannot see, inside the wall behind the tap, can soak a cavity and a kitchen wall for weeks before it shows. This guide covers both, in the order you need them: stop the water, find the leak, fix it or call, then make sure it does not happen again this winter.
Outside Tap Leaking? Do These 4 Things First
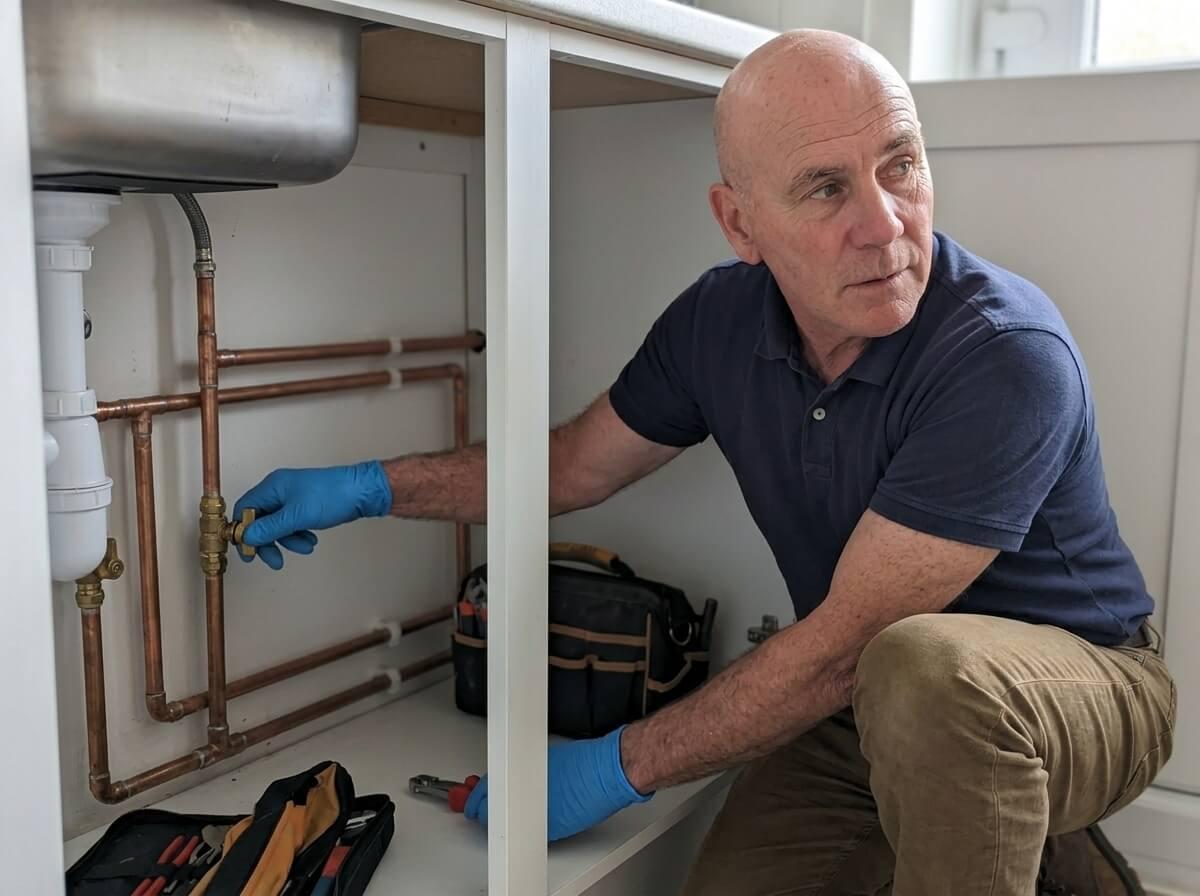
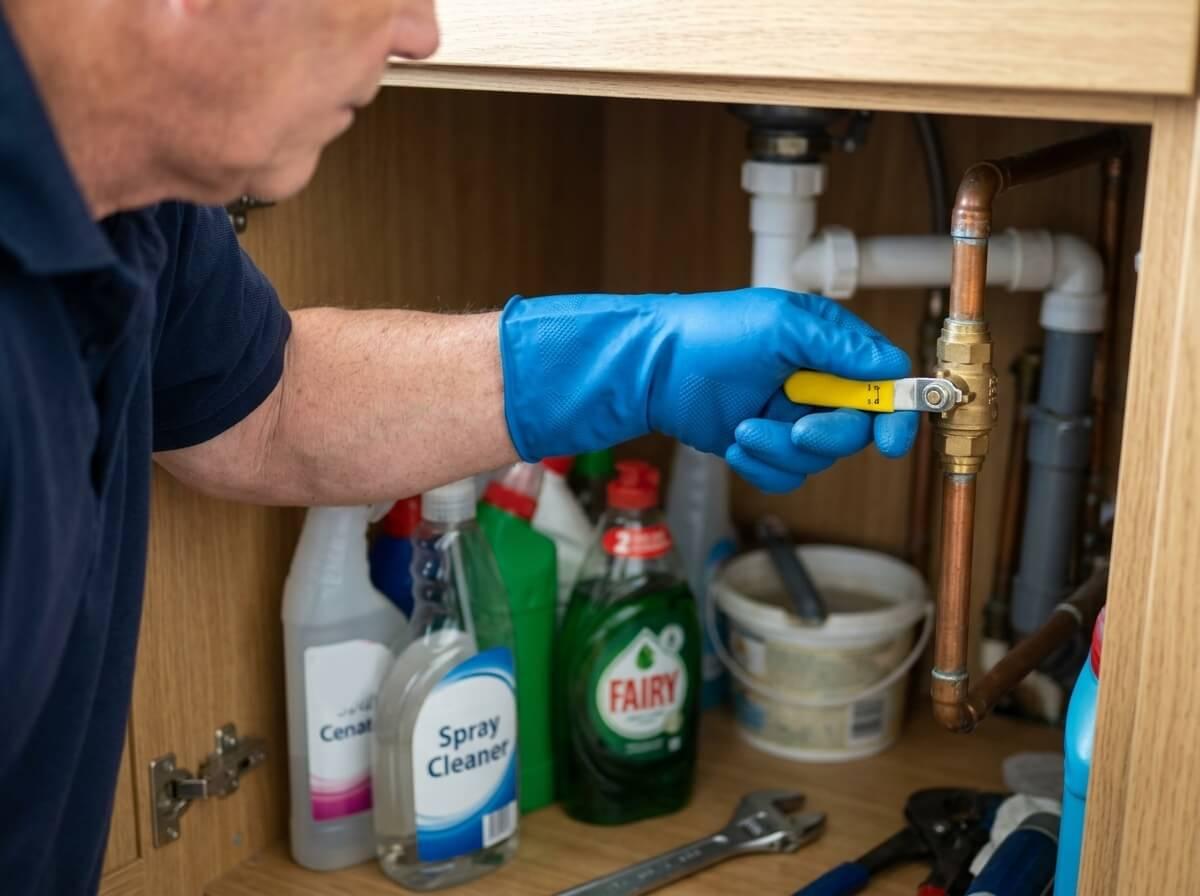
Turn off the isolation valve or the stopcock
Look under the kitchen sink, or on the inside of the wall right behind the outside tap, for a small valve on the pipe heading outside. Turn the screwdriver slot or lever a quarter turn so it is across the pipe. If you cannot find one, turn off the main stopcock. My guide on how to locate your stopcock shows where it usually hides.
Open the outside tap and let it drain
With the supply off, open the outside tap fully. Water left in the pipe will run out, and the leak should slow to nothing. If it keeps running for more than a minute or two, the valve you turned is not the right one, or it is not shutting off fully.
Check inside the house
Look at the wall directly behind the tap, inside the kitchen, utility room or garage. Run your hand along the skirting and inside the cupboard. A damp patch, bubbling paint or a wet cupboard floor means the leak is on the pipe inside the wall, not just the tap, and that needs a plumber.
Work out where it is leaking
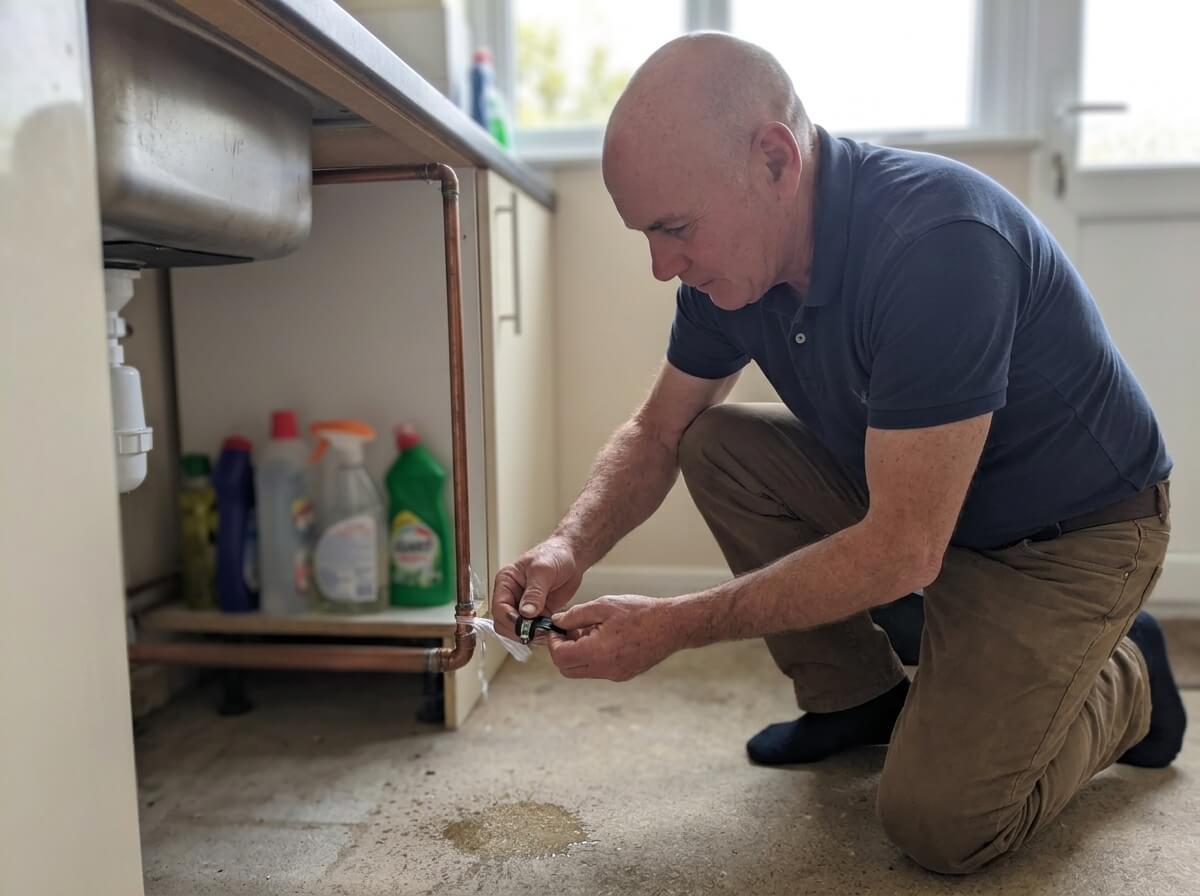
Turn the water back on only once you are watching the tap. Note whether the water comes from the spout, the handle, the hose connector, the back of the tap or the pipe. Each one points to a different part, and the leak finder below tells you which.
Is a Leaking Outside Tap an Emergency?
Most of the time, no. A tap that drips from the spout or weeps from the handle is wasting water and should be fixed, but it is not going to damage your home tonight. It does move up the list in late autumn, because a dripping tap keeps the spout and the washer wet, and that water is the first thing to freeze when the temperature drops below zero.
It is an emergency, and worth a call at any hour, if:
- ●Water is spraying from the tap body, the pipe or a joint, and it will not stop when you close the tap.
- ●The tap has split after a frost. You may see a hairline crack, a bulge in the body, or water running from somewhere it never used to.
- ●Water is getting into the house. A wet patch behind the tap, water in a kitchen cupboard or under the floor near the outside wall.
- ●You cannot turn it off. No isolation valve, and the stopcock is stuck. See my guide to a stopcock that is stuck or seized.
- ●The pressure has dropped indoors at the same time as water appears outside, which suggests a larger leak on the supply.
If you are not sure whether it can wait, my guide to what counts as a plumbing emergency has a simple three-question test.
Where Is It Leaking? Outside Tap Leak Finder
Turn the water back on with the outside tap shut, watch for a minute, then open the tap and watch again. Where the water appears, and whether the tap is on or off at the time, tells you almost everything.
| WHERE THE WATER IS | LIKELY CAUSE | THE FIX | HOW URGENT |
|---|---|---|---|
| Drips from the spout when the tap is fully off | Worn or split rubber washer, or a pitted brass seat | New washer. Regrind the seat or replace the tap if it still drips. | Before the frost |
| Water comes out around the spindle under the handle when the tap is on | Gland nut loose or gland packing worn | Nip the gland nut a quarter turn. Repack it if that does not hold. | Before the frost |
| Sprays or dribbles where the hose connector clicks on | Perished O-ring or washer in the connector, or the adaptor is cross-threaded | New connector washer or connector. Refit the adaptor squarely. | Before the frost |
| Weeps from the back of the tap where it screws into the wall plate | Thread sealant failed, or the tap has been knocked and the joint loosened | Drain, unscrew, re-tape with PTFE and refit, or replace the wall plate elbow. | Fix today |
| Water runs from the tap body itself, or there is a visible crack | Body split by frost or corrosion | Isolate now and replace the tap. A cracked body cannot be repaired. | Isolate now |
| Water running down the outside wall, or a wet patch indoors behind the tap | Split pipe or failed joint inside the wall, often after a frost | Isolate now. The pipe needs opening up and repairing. | Isolate now |
| Water spraying from the pipe below or beside the tap | Burst or frost-split pipe, or a push-fit joint that has blown | Isolate or turn off the stopcock now and get it repaired. | Isolate now |
| Leaks from a small brass fitting on the pipe inside the house | Double check valve or isolation valve leaking, or a loose compression nut | Tighten the nut a quarter turn, or replace the valve. | Fix today |
How to Turn Off the Water to an Outside Tap
In most British homes, the outside tap is fed by a short branch teed off the cold mains, close to where it comes up under the kitchen sink. The pipe then runs along the back of the cupboard and straight out through the wall to the tap. That is why the isolation valve, if there is one, is nearly always in one of these places:
- ●Under the kitchen sink, on the pipe heading towards the outside wall. This is the most common spot by a long way.
- ●On the inside wall directly behind the tap, in a kitchen, utility room, downstairs toilet or garage.
- ●Next to the main stopcock, on homes where the pipe to the garden was run from the stopcock itself.
- ●In the garage or an outbuilding, where a tap on a garage wall is fed from a pipe running through it.
Which way is off?
Most isolation valves are quarter-turn valves. When the slot or the lever runs along the pipe, the water is on. Turn it a quarter turn so it sits across the pipe, and the water is off. Older valves that look like a small stopcock with a round handle turn clockwise to close, the same as a tap. Some pipes also have a small brass double check valve in line with the isolation valve. That is a one-way valve and cannot be turned off, so do not try to undo it.
If there is no isolation valve
Plenty of older Ipswich homes, and some newer ones, have an outside tap with no valve at all. Then the only way to stop it is the main stopcock, which shuts off the whole house. Fill a kettle and a few bottles first. While the water is off, it is well worth having an isolation valve fitted on the pipe to the tap. It is a small job, and it is what lets you drain the tap for winter without turning off the whole house.
Outside Tap Leaking From the Top or Handle
Water creeping out from under the handle, around the spindle, usually only when the tap is turned on, is the commonest outside tap leak I see. It is the gland, not the washer. The spindle passes through a gland nut packed with a fibre or rubber seal, and over the years the packing wears and the nut works loose from being turned on and off.
How to fix it
Find the gland nut
It is the small hexagon nut just below the handle, where the spindle goes into the tap body. On some taps you need to pull the handle or a shroud off first to see it.
Hold the tap body still
Grip the body with a second spanner or a pair of grips with a cloth around it. If you skip this, you will twist the whole tap on its thread and start a leak at the wall.
Nip it a quarter turn
With the tap open, turn the gland nut a quarter turn clockwise. Check it. If it still weeps, another quarter turn. Stop as soon as it is dry. Too tight and the tap becomes stiff to turn.
Repack it if that does not hold
If tightening does not stop it, isolate the tap, undo the gland nut, wind a few turns of PTFE tape twisted into a string around the spindle, and do the nut back up. On a cheap or tired tap, a new tap is often the better fix.
Outside Tap Dripping From the Spout When Turned Off
A drip from the spout when the tap is fully closed means water is getting past the washer. On a traditional brass bib tap, a rubber washer on the bottom of the headgear is screwed down onto a brass seat to stop the flow. The washer hardens, splits or wears a groove, and the water finds its way past. The natural reaction is to turn the handle harder. That squashes the washer flat and makes it worse.
How to change the washer
Isolate and drain
Turn off the isolation valve or stopcock, then open the outside tap fully until it stops running.
Unscrew the headgear
Hold the tap body still with one spanner and undo the large hexagon nut above the body with another. The whole top section, handle and spindle, lifts out.
Swap the washer
The washer is on the bottom of the headgear, held by a small nut or just pressed on. Take the old one to a plumbers’ merchant to match it. Most outside taps take a standard half-inch washer, which costs a pound or two.
Check the seat
Look down into the body at the brass ring the washer seals against. If it is pitted or has a groove, a new washer will only help for a while. It needs regrinding with a seat cutter, or a new tap.
Reassemble and test
Put the headgear back, tighten it while holding the body, turn the tap off, then open the isolation valve slowly and watch the spout.
Some newer outside taps are quarter-turn taps with a ceramic cartridge instead of a washer. If one of those drips, the cartridge has worn or picked up grit. They usually need a matching cartridge or a new tap.
Outside Tap Leaking Where the Hose Connects
Water spraying out where the hosepipe clicks on is rarely the tap’s fault. Click-on connectors use a rubber O-ring or washer that perishes in sunlight and frost, and the threaded tap adaptor that screws onto the spout is easy to put on at an angle.
- ●Unscrew the tap adaptor and look for the flat rubber washer inside it. If it is missing, hard or split, replace it.
- ●Screw it back on squarely, hand tight. Do not use a spanner on a plastic adaptor, it will crack.
- ●Check the click-on connector's O-ring. If it is flattened or cracked, replace the connector. They are cheap.
- ●If water comes from the tap nose itself, the threaded spout on some taps contains a small check valve that can wear. That usually means a new tap.
Take the hose and the connector off for the winter. Water trapped in a hose connector freezes, and it can push back and split the nose of the tap.
Outside Tap Leaking at the Wall or Behind the Wall
This is the one to take seriously. The tap screws into a wall plate elbow that is fixed to the brickwork, and the pipe runs from there through the wall to the inside. If water is coming out from behind the tap, running down the brickwork, or appearing inside the house, the leak is on the joint at the wall plate or on the pipe that passes through the wall.
Three causes account for nearly all of these:
- ●Frost damage. The short length of pipe in the wall is barely insulated. It freezes, splits, and only leaks once it thaws.
- ●The tap has been knocked or pulled. A hosepipe yanked sideways or a lawnmower knock can loosen the thread at the wall plate, or crack a plastic wall plate.
- ●Corrosion or a failed joint. Old steel or lead pipes through the wall, and push-fit joints in a cold spot, can let go after years.
Turn the water off and keep it off. A leak inside the wall can wet the cavity insulation and the plaster on the inside for a long time before you see a mark, and it can spread under a kitchen floor. If you think water has been going into the wall for a while, my guide to the signs of a hidden water leak is worth reading. A plumber will usually remove the tap and wall plate, check the pipe through the wall, and replace what has failed. If it is not obvious where the water is going, my leak detection service can trace it without pulling the kitchen apart.
Frozen or Burst Outside Tap: What to Do
Water expands by about 9 percent as it turns to ice. In a pipe that is full and sealed at the closed tap, that has nowhere to go, and something gives: the tap body, the pipe, or a joint. The tell-tale sign is a tap that gives nothing when you open it on a freezing morning. Then, when it thaws, it starts leaking where it never did before.
If the outside tap is frozen
- ●Turn off the isolation valve so that if it has split, it cannot flood when it thaws.
- ●Open the outside tap. This gives the thawing water and the expanding ice somewhere to go.
- ●Warm it gently. A hot water bottle, a towel soaked in warm water, or a hairdryer on low, working from the tap back towards the wall.
- ●Watch it as it thaws. If water appears from the body or the wall, it has split. Leave the valve off and get it repaired.
- ✕Never use a blowtorch or a heat gun. You can melt plastic pipe, burn the wall plate fixings, and turn a frozen pipe into a burst one.
- ✕Do not pour boiling water over it. The sudden heat can crack a brass tap body that is already under strain.
My frozen pipes guide goes into thawing in more detail. If the pipe has already split and is pouring water, follow my steps on what to do when a pipe bursts, then call me for a burst pipe repair.
Repair or Replace the Outside Tap?
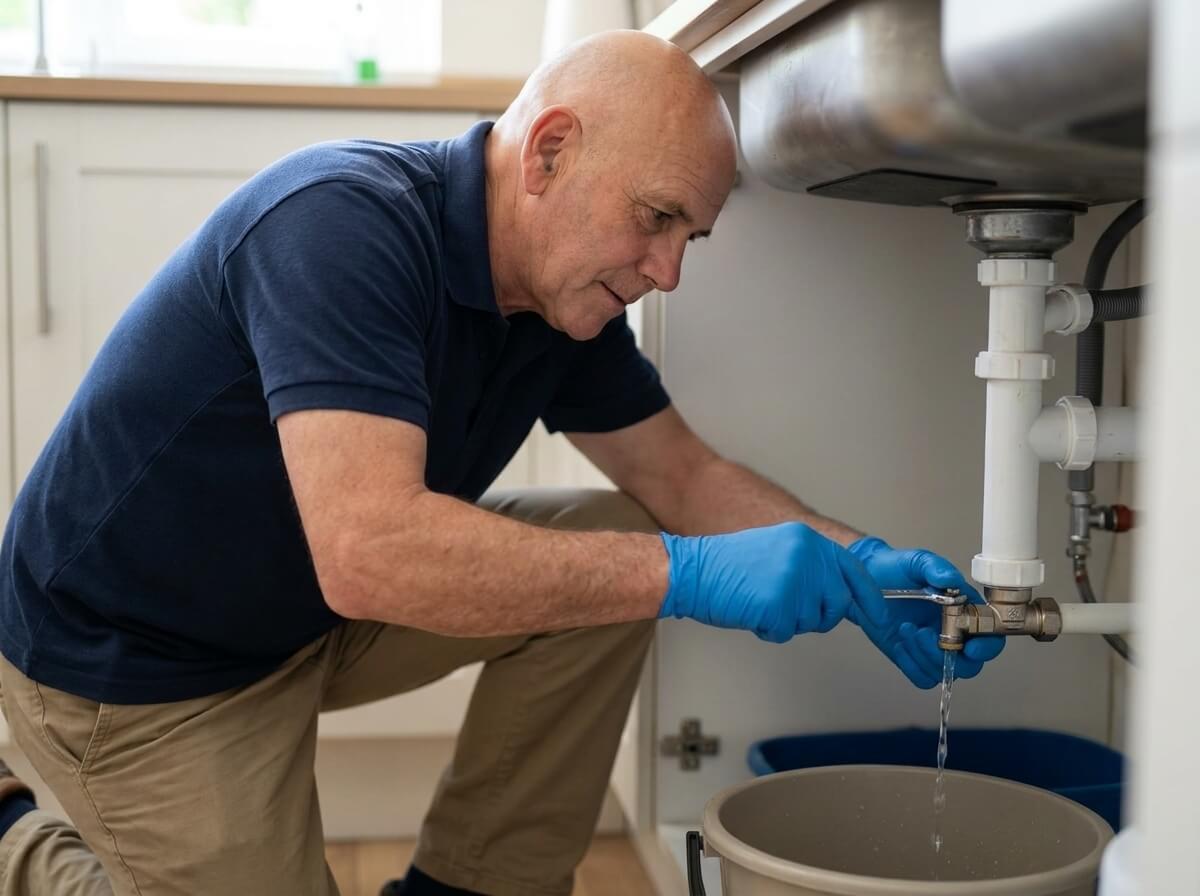
A brass outside tap with a double check valve is not an expensive part, so once a tap is worn, replacing it is often better value than repairing it twice. This is how I usually decide:
| FAULT | REPAIR OR REPLACE |
|---|---|
| Loose gland nut | Repair. A quarter turn with a spanner, no parts needed. |
| Worn washer on a tap less than about 15 years old | Repair. A new washer costs a pound or two. |
| Pitted or worn seat | Usually replace. Regrinding is possible but a new tap is often quicker and lasts longer. |
| Stiff, seized or rounded-off spindle | Replace. Forcing it usually snaps the spindle or the pipe behind. |
| Cracked or frost-split body | Replace. There is no safe repair for a split tap body. |
| No double check valve on the tap or the pipe | Replace with a tap that has one built in, or fit one inside. |
| Tap has to be forced off to stop it dripping | Replace, or the seat will keep wearing and it will split the washer again. |
When I replace an outside tap, I fit a new wall plate if the old one is loose or corroded, make sure there is an isolation valve and backflow protection, and check the pipe through the wall while it is exposed. You get a fair price agreed before any work starts.
Outside Taps and the Water Regulations
This part surprises people. A garden hose can siphon dirty water back into the mains: a hose left in a pond, a paddling pool, a bucket of weedkiller or a blocked drain. If the mains pressure drops, that water can be drawn back up the pipe. To stop it, the Water Supply (Water Fittings) Regulations 1999 require outside taps to have backflow protection.
- ●A double check valve is the usual answer. It is either built into the tap (you will often see it marked on the body), or fitted on the pipe inside the house, near the isolation valve.
- ●Like-for-like replacement is fine. If you replace your outside tap, fit one with a built-in double check valve if there is not one on the pipe already.
- ●Check valves wear out. They are worth renewing every ten years or so. A sticking check valve can also cause a weak, spluttering flow from the tap.
- ●Never leave the hose end sitting in water. Use a trigger gun, which stops the flow when you let go.
WaterSafe’s advice on outside taps explains this well if you want the detail.
What Not to Do
- ✕Do not keep cranking the tap tighter. It flattens the washer, scores the seat and eventually snaps the spindle.
- ✕Do not wrap tape round a split tap and turn it back on. It will hold for minutes, not days, and a split body will open further.
- ✕Do not undo the tap without holding the wall plate. You can twist the pipe inside the wall and start a leak you cannot see.
- ✕Do not leave a dripping tap over winter. The drip keeps the tap wet, and it is the wet parts that freeze first.
- ✕Do not leave the hose connected in a frost. Water trapped in the connector freezes and can split the tap nose.
- ✕Do not ignore a damp patch inside behind the tap. That is water in the wall, and it will not dry out on its own while the leak continues.
How Much Water Does a Dripping Outside Tap Waste?
More than most people expect. A tap dripping once every second or two wastes thousands of litres over a year, and an outside tap is the one nobody notices because it drips into a flower bed or down a drain. If your home is on a water meter with Anglian Water, you pay for every litre, and you pay for it twice, because sewerage charges are based on the water that comes in. A worn washer costs a pound or two. Fixing it is the cheapest water saving there is.
If your meter is still moving with every tap in the house shut, and the outside tap is dry, the leak is somewhere else, often on the supply pipe underground. My guide to a water leak outside the house explains how to do the meter test and who is responsible.
Who Pays? Tenants, Landlords and Insurance
If you rent
In most tenancies, the landlord is responsible for keeping the water supply in repair, and that includes the outside tap and the pipe to it. Turn the water off if it is spraying or getting into the wall, then tell your landlord or letting agent in writing straight away, with a photo. You are expected to take reasonable care, such as taking the hose off in winter and reporting a drip, so do not sit on it.
Home insurance
Most buildings policies cover the damage caused by an escape of water, such as a split pipe in the wall soaking the plaster, the kitchen units or the floor. They rarely pay for the worn tap itself, or for a slow leak you knew about and left. Some policies exclude freezing damage if the house was empty and unheated. Turn the water off, take photos, keep the plumber’s report, and ring your insurer before any repair beyond the tap itself.
How to Winterise Your Outside Tap
When a cold easterly blows across Suffolk, it finds every exposed pipe on the house, and the outside tap is always the first thing to freeze. Ten minutes in late October or early November saves a split tap in January.
Take the hose off
Remove the hose, the click-on connector and the tap adaptor. Store them in the shed or garage.
Turn off the isolation valve
Quarter turn, so the slot or lever is across the pipe.
Open the outside tap and leave it open
Let the pipe drain, then leave the tap open all winter. An empty pipe has nothing to freeze. Pop a note on the valve so nobody turns it back on by mistake.
Cover it
Fit an insulated tap cover, or wrap the tap in an old towel and tape it. Lag any exposed pipe on the outside wall with foam pipe insulation.
Fix any drips first
A dripping tap or a leaking gland should be sorted before the frosts, not after.
Anglian Water’s winter advice says the same: cover your outside taps, take the hoses off, and lag exposed pipes. No isolation valve? Then a cover is the minimum, and a valve is worth fitting before the next cold snap.
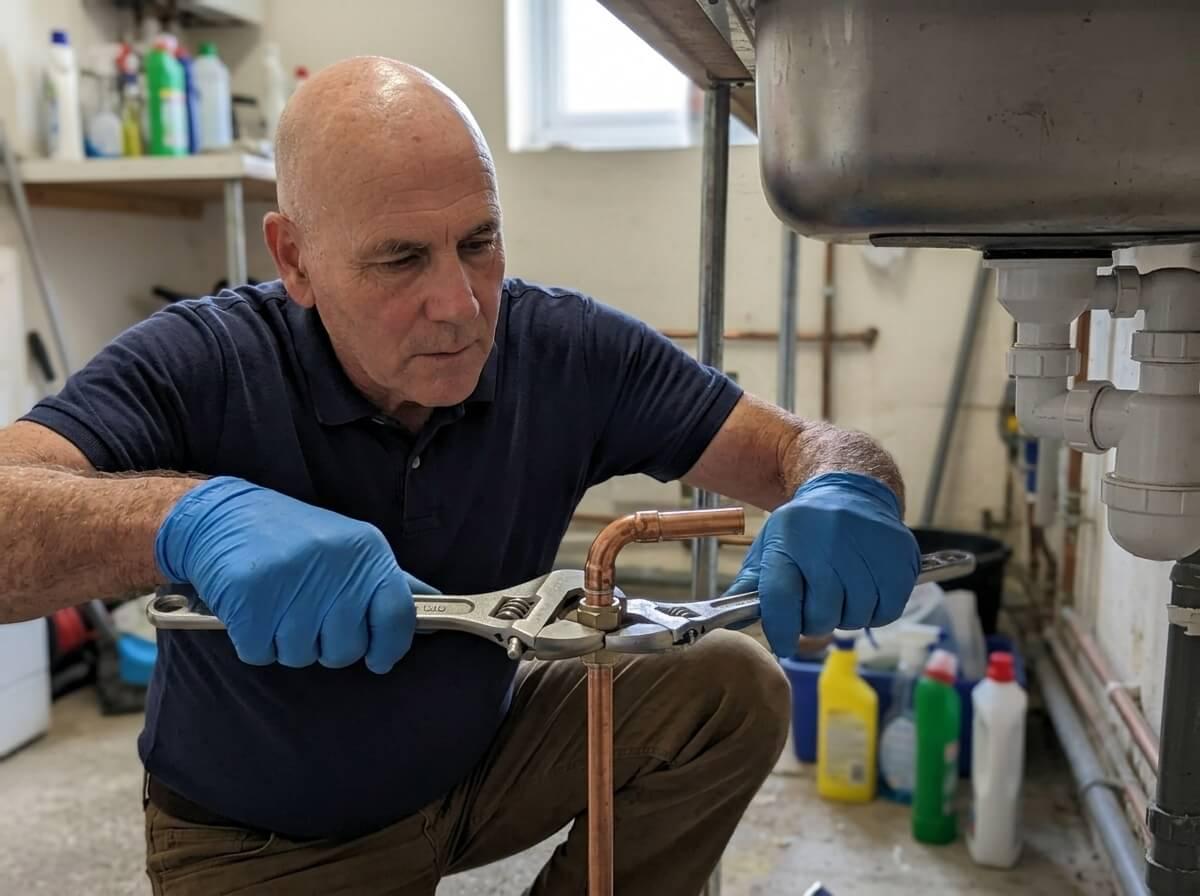
How I Fix a Leaking Outside Tap
Isolate and check inside
I turn the water off at the right valve, then look at the wall behind the tap from the inside, so we know straight away whether this is a tap job or a pipe job.
Find the actual fault
Gland, washer, seat, connector, wall plate or the pipe through the wall. I will show you what has failed, so you are not paying for a new tap when a washer would do, or a washer when the tap has split.
Repair or replace it properly
That means an isolation valve and a double check valve if they are missing, a sound wall plate, and the pipe through the wall checked and lagged where it is exposed.
Test it and set it up for winter
I test it under full pressure with the tap on and off, check the joints inside, and if it is that time of year, leave it isolated and drained, with the valve labelled.
If a pipe has split rather than the tap, see my guide on how to stop a leaking pipe for safe temporary fixes while you wait. And if it is an indoor tap that will not shut off rather than the outside one, my tap won’t turn off guide covers that.
Outside Tap Leaking in Ipswich? Call Philip
- ●Turn it off first: the isolation valve under the kitchen sink or behind the tap, or the main stopcock.
- ●Read the leak: handle means the gland, spout means the washer, hose connector means the O-ring, wall means the pipe.
- ●Call if it has split, is leaking into the wall, or will not turn off.
- ●Before the frosts: take the hose off, isolate, drain and cover the tap.
If your outside tap has split, is leaking into the wall, or you simply cannot get it to stop, call me on 07977 857224, 24 hours a day, seven days a week. I cover Ipswich, Felixstowe, Woodbridge, Kesgrave, Martlesham, Stowmarket and the villages in between, and for local emergencies I am usually with you in about 30 minutes. For a drip that can wait, I can fix the tap and fit a valve so it is ready for winter. See all my emergency plumbing services, or get in touch for a free, no-obligation quote.