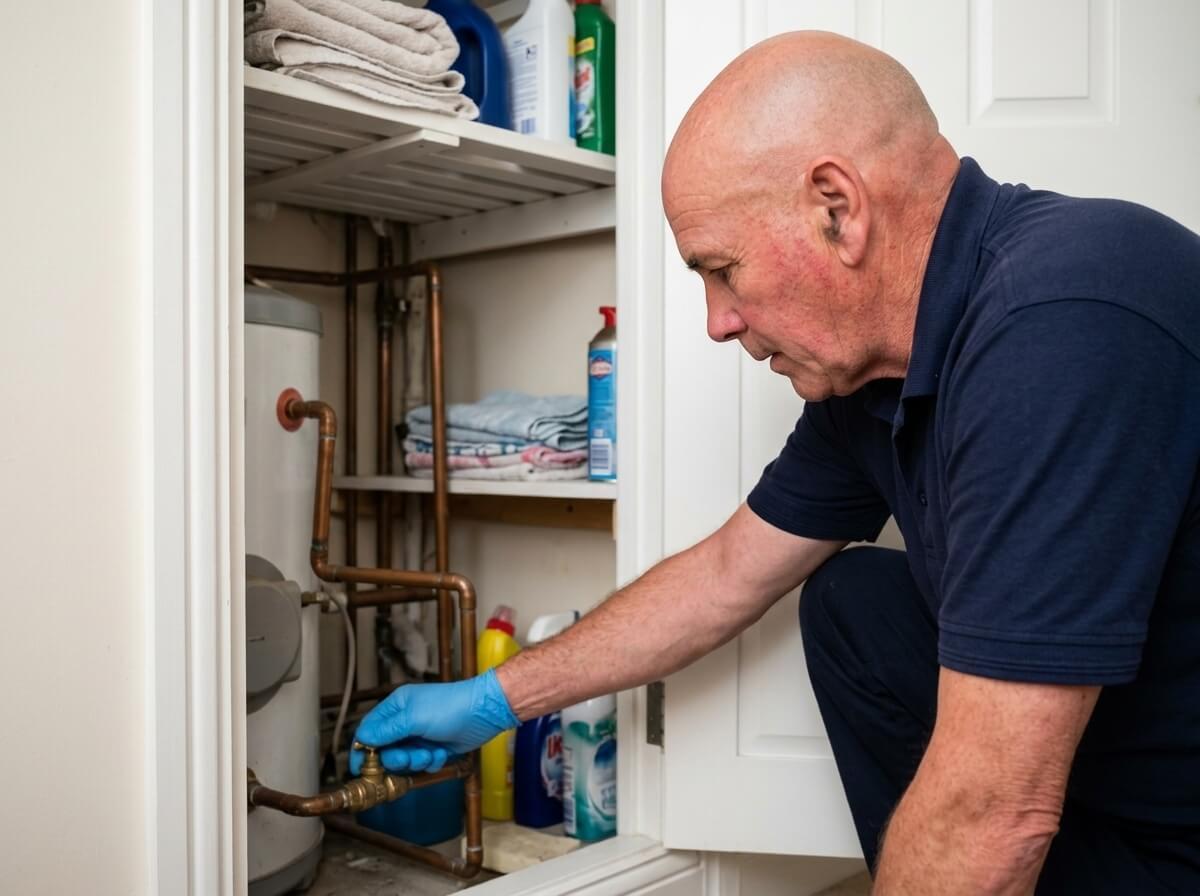
A bath leaking through the ceiling is one of the most common calls I get, and one of the most frustrating for the people making it. The bath looks perfectly fine. The damage shows up a floor below, often in the kitchen or living room, as a yellow ring on the ceiling, a bubble in the paint, or a drip that only appears on some evenings and not others.
That on and off pattern is what makes a leaking bath so easy to ignore and so expensive in the end. Water soaks into the floorboards and the ceiling for weeks before you see it. I have been a plumber in Ipswich for more than forty years, and almost every bath leak I find is one of six things. Most guides online just tell you to reseal the bath. This one shows you how to tell which of the six it is before you spend a penny, with a simple test you can do in half an hour.
Bath Leaking Through the Ceiling? Do These 5 Things First
Stop using the bath and the shower over it
Tell everyone in the house. Every bath or shower you run pushes more water into the floor and the ceiling below, and most bath leaks only happen when the bath is in use. Use another bathroom, or the kitchen sink for a wash, until you know what is going on.
Make the electrics below safe
If water is coming through near a ceiling light, a smoke alarm, a spotlight or a switch, do not touch them. Switch the lighting circuit off at the consumer unit, or the main switch if you are not sure which one, as long as the consumer unit itself is dry. Water finds the cable holes in a ceiling very quickly, so a drip from a light fitting is common.
Catch the water and protect the room below
Put a bucket or a washing up bowl under the drip, with an old towel in it to stop the splashing. Move furniture, rugs and anything electrical out of the way. If the ceiling is bulging or sagging, keep people and pets out from under it. My guide on water leaking through the ceiling explains how to deal with a bulge safely.
If it is still dripping, turn the water off
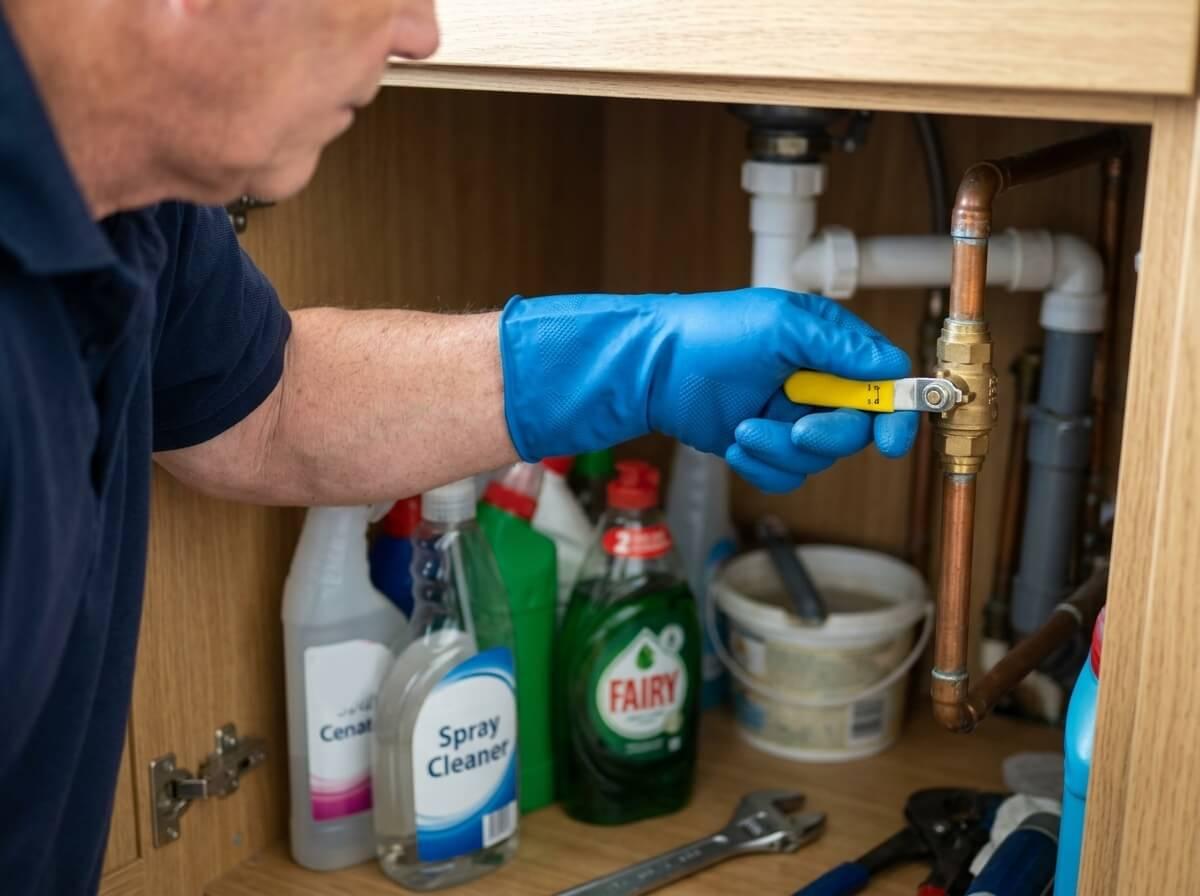
A drip that carries on when nobody has used the bath for an hour means a supply pipe or tap connection is leaking. Take the bath panel off and look for two small valves on the pipes going to the taps. Turn the slot a quarter turn so it sits across the pipe. If there are no valves, turn off the main stopcock. My guide on how to find your stopcock shows where to look in most Suffolk homes.
Take photos before you clear up
A photo of the ceiling, the floor and anything that has been damaged helps if you need to claim on your insurance, tell your landlord, or speak to a neighbour. It also helps me work out the cause quickly when I arrive.
How a Bath Is Plumbed: The Parts That Leak
You cannot find a bath leak until you know what is hidden behind the panel. Every bath has two separate systems underneath it, and they leak in completely different ways.
The supply side: taps and pipes
Hot and cold pipes come up to the tap tails under the tap end of the bath. Older homes usually have 22mm copper pipes and tap connectors with a fibre washer. Newer bathrooms often have flexible braided tap hoses with a small isolation valve on each one. Bath mixers with a shower hose, and bath fillers on the wall, have their own pipes running behind the tiles. This side is under pressure all the time, so a leak here drips whether the bath is used or not.
The waste side: plughole, overflow, trap and pipe
The plughole fitting, the waste, is clamped through the bath with a back nut underneath and sealed with washers. The overflow is the slot at the tap end near the top of the bath. A fitting is clamped through the bath behind it and a ribbed flexible hose runs down to join the waste. Below that sits the trap, which holds a little water to keep drain smells out, and then a 40mm waste pipe that runs under the floor or through the wall to the outside. Plug and chain, click clack and pop-up wastes all work this way. None of this is under pressure until the bath is filled or emptied, which is why these leaks come and go.
The edges: silicone, tiles and the bath itself
The silicone joint between the bath and the tiles, the tiles and grout above it, and any bath screen all keep splashes inside the bath. Most modern baths are acrylic. They are light and warm, but they flex, so they rely on a cradle with adjustable legs and a batten on the wall to stop them moving. Steel and cast iron baths do not flex, but their wastes and overflows leak just the same.
When Does It Leak? The Quickest Way to Narrow It Down
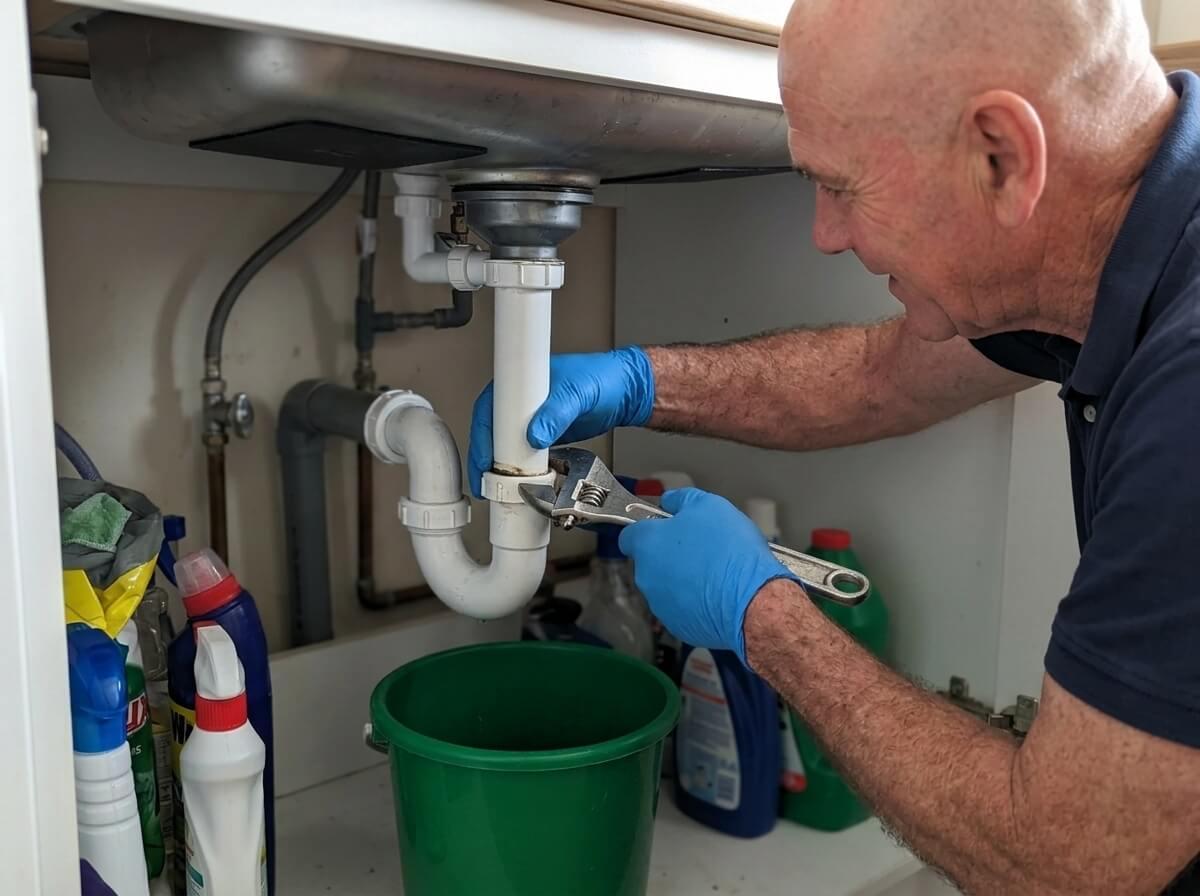
When the drip appears tells you more than where it appears. Water travels along joists and pipes before it comes through, so a stain in the middle of the ceiling can come from the tap end of the bath two metres away. Think about the last few times it dripped and find the row that matches.
| WHEN IT LEAKS | LIKELY SOURCE | CHECK THIS FIRST |
|---|---|---|
| All the time, even when nobody has used the bathroom for hours | The supply side: tap connections, flexible tap hoses, isolation valves or a pipe under the bath or floor | Turn off the isolation valves under the bath panel. If the drip slows and stops, it is the taps or their pipes. |
| Only while the bath is filling with the plug in | The plughole waste: a worn or misaligned washer, a loose back nut, or a crack around the plughole | Run ten centimetres of water with the plug in and watch the underside of the waste with the panel off. |
| Only when the bath is filled right up | The overflow: a perished overflow seal, a loose overflow back nut, or a split or slipped overflow hose | Fill slowly until water just runs into the overflow slot and watch the fitting and the ribbed hose. |
| Only as a full bath empties | The trap or the waste pipe: a loose trap nut, a missing seal, a cracked trap or a push-fit joint that has pulled apart | Pull the plug on a full bath and watch the trap and every joint along the waste pipe with a torch. |
| Only after a shower or a splashy bath | The edges: failed silicone, cracked grout, a leaking bath screen, or water running off the end of the bath | With the bath empty, pour a jug of water slowly along each edge in turn and watch for a drip. |
| When someone stands or sits in the bath | Bath movement: an acrylic bath not supported properly, tearing the silicone and working the waste joints loose | Press down on the bath rim and watch the silicone line. A gap that opens and closes means the bath is moving. |
How to Find a Bath Leak: Philip’s 6-Stage Test
This is the same test I run when I am called out to a leaking bath. It works because it puts water on one part of the bath at a time. You need a torch, a roll of kitchen roll, a jug and about half an hour. Do not run the shower during the test, and stop the moment you see water coming through below.
Before you start: get the panel off
Most plastic bath panels unclip or are held by a few screws along the top and the bottom edge. Ease the panel away from the end nearest the taps. If yours is tiled in, look for an access hatch at the tap end. If there is none, the stages that only need you to watch the ceiling still work, just more slowly. Once it is off, dry everything you can reach and lay sheets of kitchen roll under the taps, the waste, the overflow and each joint on the trap and pipe. Dry paper shows a drip in seconds, long before you would see it on a wet floor.
The no-use test: is it the supply?
Leave the water on and do not use the bathroom for an hour. Come back and check the paper under the taps and along the pipes. If any of it is wet, the leak is on the supply side. Stop the test here and turn off the isolation valves or the stopcock.
The plughole test: is it the waste?
Put the plug in and run about ten centimetres of cold water. Wait fifteen minutes and look under the plughole. Wet paper under the waste while the plug is still in means the seal between the waste and the bath has gone.
The overflow test: is it the overflow?
Keep filling, slowly, until water just starts to trickle into the overflow slot. Turn the tap off and watch the back of the overflow fitting and the ribbed hose down to the waste. Water here means a perished overflow seal, a loose back nut, or a split or loose hose.
The drain test: is it the trap or the pipe?
Pull the plug and watch the trap and every joint you can see along the waste pipe as the bath empties. A full bath pushes a lot of water through in a short time. Drips or a trickle from a nut or joint now mean the trap or pipe is the problem.
The edge test: is it the silicone or the tiles?
With the bath empty, pour a jug of water slowly along one edge at a time: the long wall side, the tap end, the far end, then the corners. Give each one a few minutes. A drip after one particular edge points to the silicone or grout there.
The weight test: is the bath moving?
Stand in the empty bath, or press firmly on the rim, while someone watches the silicone line along the wall. If a gap opens and closes, the bath is moving. That movement tears silicone and loosens the waste, so it has to be fixed before anything else will last.
The Six Most Common Causes of a Leaking Bath
Once you know which stage made the paper wet, you know which of these you are dealing with. They are in the order I find them most often in Ipswich homes.
1. A leaking bath waste (the plughole)
The waste is sealed with a rubber or plastic washer under the bath and another between the flange and the bath on top. Over the years they harden and flatten, and the back nut works loose as the bath moves. Sometimes the washer was put on upside down, left out, or replaced with a smear of silicone when the bath was fitted. Tightening the back nut can buy time, but it rarely cures an old waste. The proper fix is to take the waste out, clean both faces of the bath, and refit it with new washers or a new waste. Click clack and pop-up wastes that have stopped working properly are often worth replacing at the same time.
2. A leaking bath overflow
This is the one people never suspect, because the leak only happens when the bath is filled right up. Behind the overflow slot is a seal and a back nut, and from there a thin ribbed hose runs down to the waste. The seal perishes, the nut loosens, and the hose splits along a rib or pops off its spigot. Children's bath time is often when it shows up, because that is when the bath gets filled highest and splashed most. If your ceiling only drips on some evenings, think about the overflow first. A new overflow seal or hose is a small part, but getting to the back of the overflow often means the panel off and a fair bit of reaching at the tap end.
3. A loose or cracked trap
Bath traps are usually plastic, held together with large hand nuts and rubber or plastic seals. If the trap has been taken apart to clear hair and not put back square, or a seal has slipped, it drips as the bath empties. Undo the nut, check the seal is in place and not split, then do it back up hand tight. Never use grips on plastic trap nuts. They crack. If the trap itself is cracked or the seals are flattened, a new trap is cheap and quick. My blocked bath guide shows how to take apart every common type of bath trap safely.
4. A waste pipe joint under the floor
The waste pipe from the trap runs under the bathroom floor or along the wall to a stack or the outside. Push-fit joints can pull apart if the pipe is not clipped, and solvent welded joints can crack if the pipe has been knocked or sags. Pipes with too little fall hold water, which puts extra weight on the joints and lets hair and soap build up. If the bath is also slow to drain, a part blockage will make every joint below it leak more, so clear the drain at the same time.
5. Failed silicone, grout or a bath screen
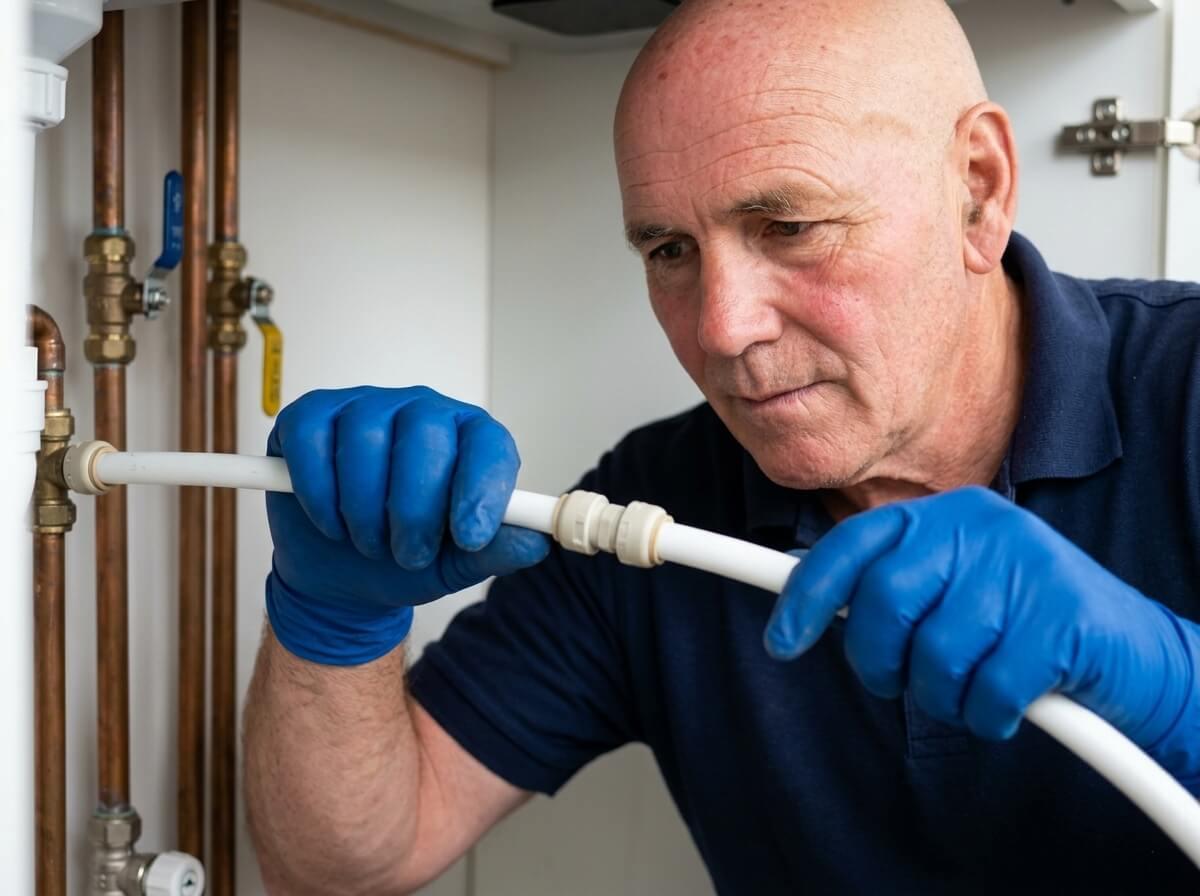
Silicone shrinks, goes mouldy and peels away from the tiles, and splashes run behind the bath and down the wall. It is a common cause, but it is also the cause most people jump to first, which is why I leave it until the waste, overflow and trap have passed their tests. If the edge test is the one that leaks, cut every bit of old silicone out, clean the joint with a little white spirit, let it dry completely and reseal. Fill the bath with water before you seal it, so the bath sits at its lowest while the silicone cures, and leave it full for 24 hours. Over-bath screens have their own seals along the bottom and the hinge, and the shower leak guide covers those.
6. A leaking tap connection or supply pipe
This is the only bath leak that keeps going when nobody uses the bath, and it is the most urgent. Old tap connectors weep at the fibre washer, flexible tap hoses perish and can burst, and isolation valves drip from the slot. A pipe joint under the bath can weep for months without anyone noticing, because the drip is behind the panel and soaks straight into the floor. Some of these are a quick washer or a new hose. Others mean the water off to the house and work on old copper, and if a hose has burst or a pipe has split, our burst pipe repair service can make it safe and repair it the same day.
Why Baths Move, and Why It Matters
If I had to pick the one thing that makes bath leaks come back, it is a bath that moves. A bath full of water and a person in it can weigh well over a quarter of a tonne. An acrylic bath that is not properly supported drops a few millimetres every time, then springs back when it empties. The silicone along the wall tears, the waste joint flexes and the overflow hose gets pulled.
- ●Legs not touching the floor: the adjustable feet under the cradle were never wound down, or have worked loose. They need adjusting and screwing down.
- ●No wall batten: many acrylic baths are meant to sit on a timber batten along the wall so the rim cannot drop. Plenty were fitted without one.
- ●A soft floor: if the floor under the legs is wet chipboard, it has been leaking for a long time. The floor has to be repaired before the bath can be supported properly.
- ●A cracked bath: a hairline crack near the plughole or along the base of an acrylic bath is usually a sign of poor support. Small cracks can sometimes be repaired, but the support needs sorting first.
Reseal a bath that moves, and the new silicone will split within weeks. Fix the support, reseal with the bath full, and check the waste joints while the panel is off.
Bath Leak Finder: Who Fixes It and How Urgent Is It?
When someone rings me about a leaking bath, my first two questions are where the water is showing and when it appears. Find the row that matches what you can see. The last two columns tell you who usually fixes it and how quickly it needs doing.
| WHAT IS HAPPENING | LIKELY CAUSE | WHO FIXES IT | URGENCY |
|---|---|---|---|
| Water dripping from a ceiling light below the bathroom | Any bath leak that has reached the ceiling void and found the cable hole. The cause can wait. The electrics cannot. | Usually a plumber | Act today |
| Ceiling below the bath bulging or sagging | Water pooled on top of the plasterboard from a leak that has been running for a while. | Usually a plumber | Act today |
| Constant drip with the bath unused | A weeping tap connection, a perished flexible tap hose, a dripping isolation valve or a supply pipe joint under the bath. | Usually a plumber | Act today |
| Water spraying under the bath panel | A burst flexible tap hose or a supply pipe that has split or pulled out of a push-fit fitting. | Usually a plumber | Act today |
| Drip under the plughole with the plug in | Failed seal between the waste and the bath: a worn, missing or misaligned washer, or a loose back nut. | Usually a plumber | Within days |
| Leak only when the bath is very full | Overflow seal perished, overflow back nut loose, or the overflow hose split or slipped off. | Usually a plumber | Within days |
| Leak as the bath empties | Loose trap nut, a seal missing or out of place, a cracked trap, or a waste pipe joint that has pulled apart. | Often a DIY fix | Within days |
| Bath slow to drain and the trap is leaking | A part blockage backing water up so the trap and joints are under more pressure than they should be. | Often a DIY fix | Within days |
| Mould or gaps along the silicone line | Old, shrunken or split silicone letting splashes behind the bath. | Often a DIY fix | Within days |
| Bath creaks or drops when you stand in it | Legs not adjusted to the floor, a loose cradle, no wall batten, or a soft floor under the bath. | Usually a plumber | Within days |
| Hairline crack in the bath near the plughole or the middle | Stress crack in an acrylic bath, usually from poor support. Water gets through the crack into the floor. | Usually a plumber | Within days |
| Damp smell from the bath panel, no visible water | A slow leak that has been soaking the floor for weeks, or a trap that keeps losing its water. | Usually a plumber | Get it checked |
What You Can Fix Yourself, and What Needs a Plumber
Plenty of bath leaks are within reach of anyone handy with a spanner. The trouble is that a bath leak that has reached the ceiling has usually been going for a while, so it is worth being honest about what you are taking on.
- ✓Usually fine to do yourself: re-seating and hand tightening a trap nut, replacing a cracked plastic trap, cutting out and replacing silicone on a bath that does not move, replacing a bath screen seal, and clearing hair from the waste and trap.
- ✕Usually a plumber: taking out and refitting a waste or overflow, anything on the tap connections, isolation valves or supply pipes, a waste pipe under the floor, a bath that moves or needs its legs and batten sorting, a cracked bath, and any leak you cannot find.
If the tests do not point clearly at one place, or water is coming through the ceiling but everything under the bath looks dry, the leak may be under the floor or inside the wall. Our leak detection service traces hidden leaks with as little damage to the bathroom and the ceiling below as possible.
Is a Leaking Bath an Emergency?
A small drip under the trap when the bath empties can wait a day or two, as long as nobody uses the bath. These cannot. Call a plumber straight away, day or night, if:
- ●Water is coming through a ceiling light, a spotlight, a smoke alarm or near a switch.
- ●The ceiling under the bathroom is bulging, sagging or cracking.
- ●Water is spraying or pouring from under the bath and you cannot turn it off.
- ●The isolation valves or the stopcock will not turn, or there are none.
- ●You live in a flat and water is going into the home below.
- ●The floor around the bath feels soft or spongy.
If you are not sure, my guide to what counts as a plumbing emergency has a simple three-question test. Water and electrics together always counts. Electrical Safety First advises switching off at the consumer unit only if it is safe to reach and dry, and having wet electrics checked by a registered electrician before they are used again.
The Hidden Damage Under a Leaking Bath
The repair to a bath is often small. The damage the leak leaves behind is not. Most bathroom floors in Suffolk homes built from the 1960s onwards are chipboard on timber joists, and chipboard that gets wet swells, crumbles and loses its strength. Older homes with floorboards fare a little better, but lath and plaster ceilings below can come down in one piece once they are saturated.
- ●Look for: a floor that dips or feels spongy by the bath, a damp or musty smell when the panel comes off, black mould on the back of the panel, loose or lifting floor tiles, and a ceiling stain that keeps growing.
- ●Dry it out properly: leave the panel off, run a dehumidifier or a fan, and keep the heating on. Do not close everything back up until the floor is dry to the touch.
- ●Leave the ceiling to dry first: a stained ceiling needs weeks to dry out before it is painted, and a stain block primer before the top coat, or the mark comes straight back through.
If you have a stain but no drip, my guide to the signs of a hidden water leak explains the other clues to look for, including how to use your water meter to check for a leak on the supply.
What Not to Do
- ✕Do not keep using the bath to see if it happens again. Every bath adds water to the floor. Use the tests instead.
- ✕Do not touch wet lights or switches below. Turn the circuit off at the consumer unit first.
- ✕Do not reseal before you have tested the waste and overflow. New silicone over a leaking waste just hides it for longer.
- ✕Do not smear silicone round the waste or overflow from underneath. It does not stick to wet or dirty plastic, and makes the proper repair harder.
- ✕Do not use grips on plastic trap nuts. They crack. Hand tight plus a little more is enough.
- ✕Do not pour chemical drain cleaner into a leaking bath. It sits in the trap, attacks the seals and can drip through the ceiling below.
- ✕Do not stand in the space between joists if you lift the floor. Chipboard that has been wet will not take your weight.
- ✕Do not put the panel back until the leak is fixed. You will want to see if it starts again.
Flats, Renting, Insurance and Who Pays
If your bath is leaking into the flat below
Stop using the bath, knock on your neighbour's door, and let them check their electrics. In most cases the owner of the flat where the bath is fitted is responsible for the bath, its waste and the pipes that serve only that flat. In many leasehold blocks the building is insured by the freeholder or managing agent, so report it to them the same day. Keep a note of when you first knew about the leak and what you did.
If you rent
The bath, its waste and the pipes are usually your landlord's responsibility to repair. Tell your landlord or letting agent in writing the same day, with photos, and stop using the bath until it is fixed. GOV.UK's guidance on repairs in rented homes sets out what landlords must fix. Resealing a bath as part of looking after the home is often down to the tenant, so check your tenancy agreement.
Home insurance
Most buildings insurance covers sudden escape of water from fixed fittings, so damage to the ceiling and floor from a split overflow hose or a failed trap joint is often covered, and many policies include trace and access to find the leak. The repair to the bath fitting itself usually is not. Many policies exclude damage caused by failed sealant or grout, and slow leaks that have been going on for weeks are often treated as wear and tear. Photograph the damage, keep any failed parts, and ask your plumber for an invoice that states exactly what failed. My burst pipe insurance claim guide explains what insurers look for, and Citizens Advice has free help if a claim is disputed.
How to Stop Your Bath Leaking Again
A few minutes every few months saves you from the slow leak nobody notices until the ceiling stains.
- ✓Look behind the panel twice a year. A torch and a sheet of kitchen roll under the waste and trap show a slow drip before it does damage.
- ✓Test the overflow now and then. Fill the bath to the overflow once every few months with the panel off, so a failing seal shows up early.
- ✓Keep hair out of the waste. A simple hair catcher stops the part blockages that put extra strain on the trap and pipe joints.
- ✓Reseal at the first sign of trouble. Mould behind the silicone or a gap you can get a fingernail into means it is time.
- ✓Make sure the bath does not move. If it creaks or drops when you stand in it, get the legs and batten sorted before the silicone splits.
- ✓Fit a removable bath panel. If your panel is tiled in, an access hatch at the tap end means the next leak is a quick look rather than a demolition job.
- ✓Fit a cheap leak alarm. A battery water alarm on the floor under the bath beeps the moment it gets wet.
Bath Leaking in Ipswich? Call Philip
A bath leaking through the ceiling feels like a disaster, but it is nearly always one of a handful of fittings that can be put right in a single visit. The main things to remember:
- ●Stop using the bath, make the electrics below safe, and catch the water.
- ●A drip all the time is the supply side. Turn off the isolation valves or the stopcock.
- ●A leak only when the bath is used is the waste, overflow, trap or edges. The 6-stage test tells you which.
- ●Do not reseal until the waste and overflow have passed their tests.
- ●Fix a bath that moves first, or every repair will fail again.
I cover Ipswich, Felixstowe, Woodbridge, Kesgrave, Stowmarket and the villages around them, 24 hours a day, and usually arrive within about 30 minutes for an emergency. You get a fair price agreed before any work starts. If you would like a plumber to sort it, get in touch for a free, no-obligation quote or ring me now. If you would rather check who you are letting into your home, the WaterSafe scheme lists approved plumbers across the UK.